
When it comes to carpets, seams are the unsung heroes or villains of a room’s aesthetic. A beautifully installed carpet brings warmth and style to any space, but visible or damaged seams can quickly steal the spotlight in all the wrong ways.
Whether you’re a homeowner trying to save on repair costs or a DIY enthusiast seeking the satisfaction of a project well done, mastering carpet seam repair is easier than you’d think.
This guide provides you with a step-by-step journey to understanding, fixing, and preventing carpet seam issues, ensuring your flooring always looks flawless. From identifying tools to learning installation techniques, you’ll gain the skills needed to tackle this common home improvement task with confidence.
Let’s dive in and discover how simple repairs can restore the seamless beauty of your home’s carpet, even if you’re a DIY beginner!
Understanding Carpet Seam Damage
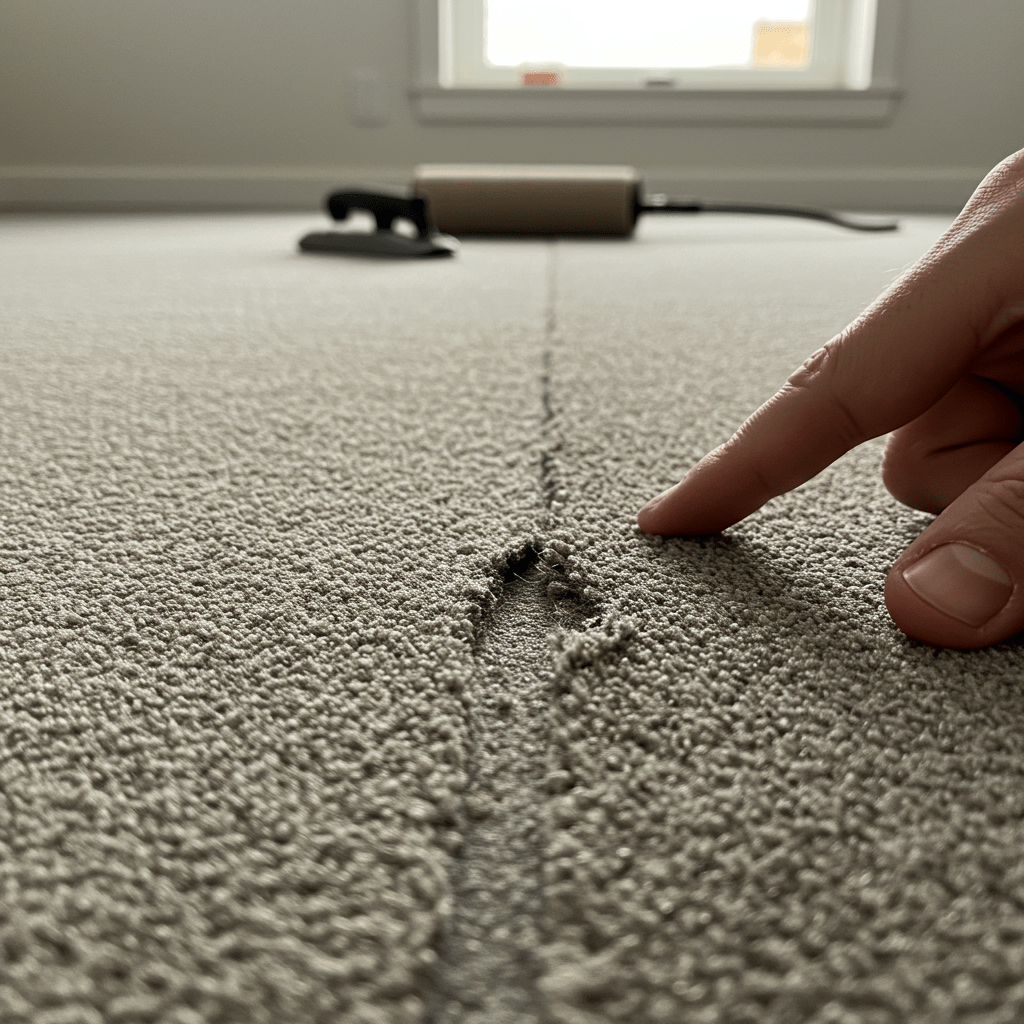
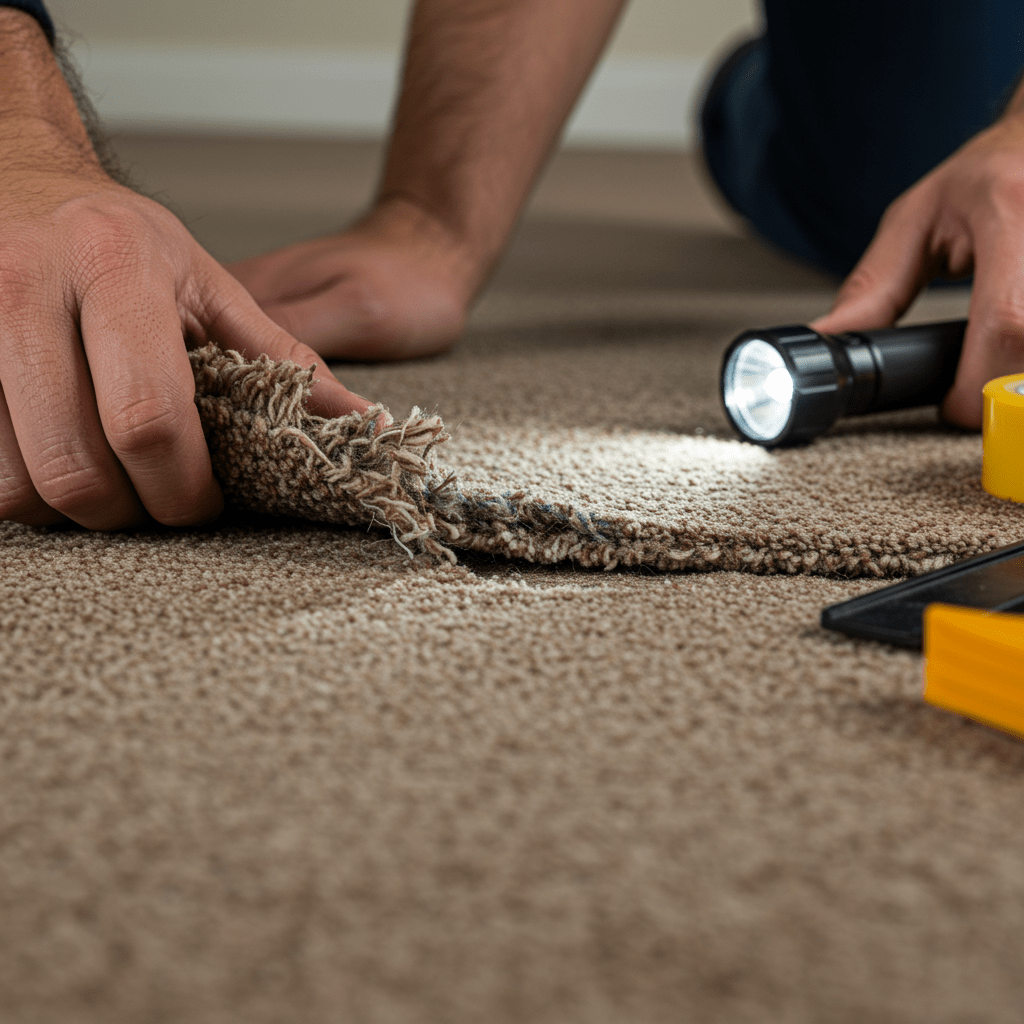
Carpet seams are where two pieces of carpet meet, and while they’re designed to be invisible, damage can make them glaringly obvious. Seam issues not only detract from the aesthetic appeal of your flooring but can also lead to premature wear and tear.
Knowing how to identify, address, and prevent seam damage is crucial for ensuring your carpet remains durable and visually flawless.
Types of Seam Damage
Seam damage can appear in a variety of forms:
- Fraying: Edges of the carpet begin to unravel, exposing loose threads or fibers.
- Split Seams: The adhesive that binds the carpet sections weakens, causing visible gaps between pieces.
- Raised or Buckled Seams: Due to poor installation or wear, seams protrude unevenly, creating bumps or ridges.
Each type demands specific repair techniques, with fraying often requiring trimming and re-sealing, while split seams may need heat-activated seam tape to restore alignment.
Common Causes of Seam Separation
The reasons behind carpet seam separation can range from everyday wear to installation errors:
- Heavy Foot Traffic: Constant pressure wears down adhesive layers, causing seams to loosen.
- Moisture Damage: Water exposure weakens seam tape or adhesives, leading to separation.
- Improper Installation: Incorrect alignment or lack of reinforcement during installation leaves seams vulnerable.
- Shifting Subfloor: Movement in the underlying surface can pull carpet sections apart.
Signs That Indicate Immediate Repair is Needed
Not all seam damage requires urgent attention, but some warning signs demand swift action:
- Visible Gaps: If the carpet pieces are visibly pulling apart, it’s time for repair before more significant damage occurs.
- Frayed Edges: Loose threads at seams can spread rapidly, creating larger problem areas if left unchecked.
- Increased Tripping Hazards: Uneven or raised seams create safety risks, especially in high-traffic areas.
- Moisture Penetration: Seams soaked with water threaten to expand separation and damage the surrounding carpet.
Catch these signs early, and you’ll save both time and money while preserving your carpet’s appearance.
Related Read: Carpet Stretching 101: The Ultimate Guide to Smooth, Flawless Floors
Essential Tools and Materials
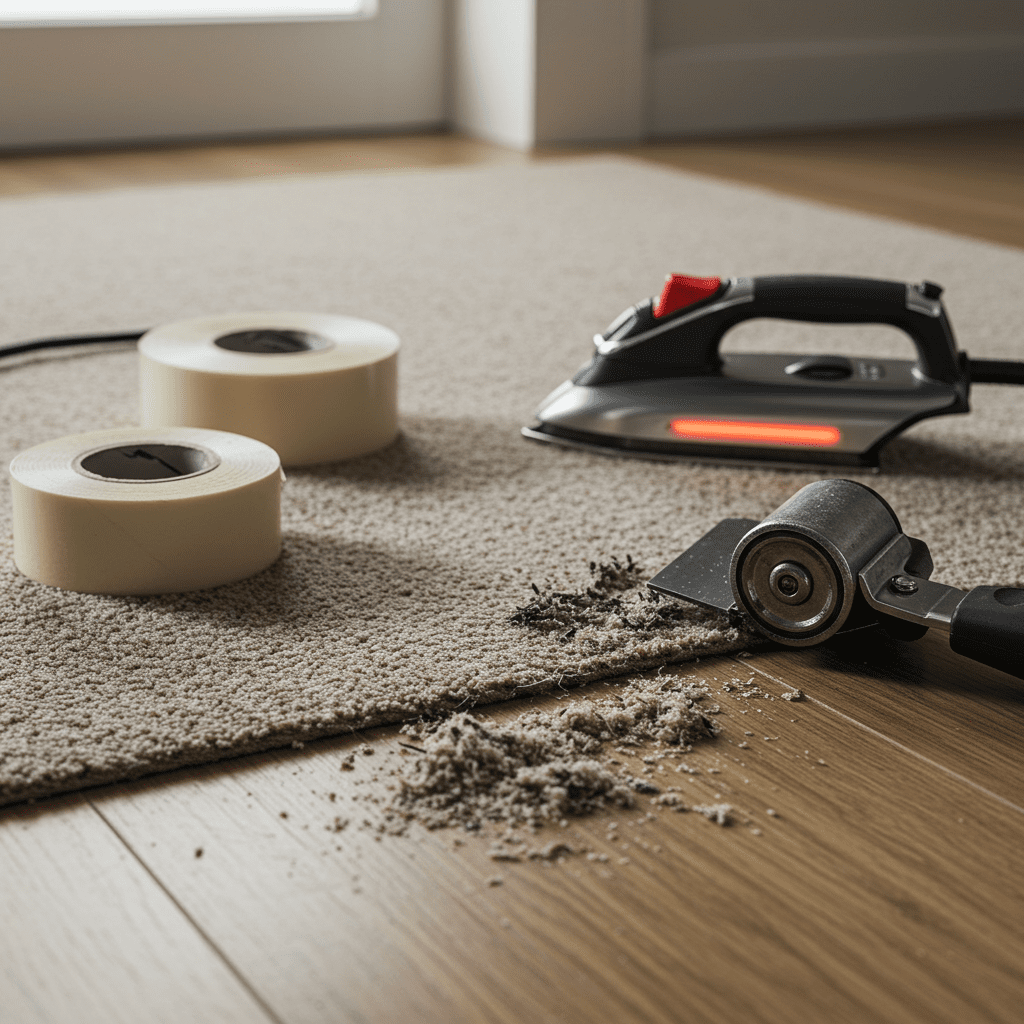
DIY carpet seam repair requires the right tools and materials to ensure professional-looking results. Whether you’re investing in high-quality equipment or working on a budget, having the proper tools on hand will make your project more efficient and effective. Below, we’ll explore everything you need to get started.
Professional-Grade Repair Kit Components
For those aiming for flawless results, professional-grade repair kits often include:
- Seam Tape: Heat-activated adhesive tape to rejoin split carpet sections.
- Seam Iron: A specialized tool used to melt the adhesive on seam tape evenly.
- Carpet Trimmer: For cutting stray fibers and ensuring a clean, invisible seam.
- Seam Roller: To press the carpet into the adhesive for a flat, secure finish.
These tools are designed to meet high standards and minimize imperfections during repair.
Safety Equipment
Safety should always be a priority during any DIY project. For carpet seam repair, consider the following:
- Heat-Resistant Gloves: Protect your hands while handling a seam iron or other hot tools.
- Protective Eyewear: Shields your eyes from loose fibers, dust, or debris while working.
- Knee Pads: Essential for comfort and joint protection while kneeling for long periods.
Taking these precautions ensures you can complete the repair safely and comfortably.
Recommended Adhesives and Tools
Using the right adhesive is critical for long-lasting results. Professionals recommend:
- Carpet Mastic (Glue): Perfect for smaller seam repairs or intricate fixes.
- Hot-Melt Seam Tape: Offers exceptional strength for high-traffic areas.
- Utility Knife: For precise cuts and removing excess carpet.
- Measuring Tape: Ensures accurate alignment of carpet pieces.
Investing in high-quality adhesives and tools increases the durability and appearance of your repair.
Budget-Friendly Alternatives
Not ready to purchase professional equipment? These budget-friendly substitutes can still yield great results:
- Double-Sided Carpet Tape: An economical option for securing smaller seams.
- Household Iron: Can act as a makeshift seam iron—just use caution and low heat.
- Heavy Books or Furniture: Serve as seam rollers to press carpet into adhesive.
Duct Tape: While not ideal for long-term fixes, duct tape can temporarily secure seams until professional repair supplies are available.
Remember, while these options are affordable, they may not offer the same durability as professional-grade tools.
Related Read: Carpet Padding Types: Choose the Right Foundation for Your Floors
Preparing for Carpet Seam Repair
Before diving into the repair itself, proper preparation is key to achieving flawless results. Taking the time to clean, assess, and organize your workspace ensures the process runs smoothly and minimizes mistakes. This section outlines the essential steps to prepare for a successful carpet seam repair.
Cleaning and Prepping the Damaged Area
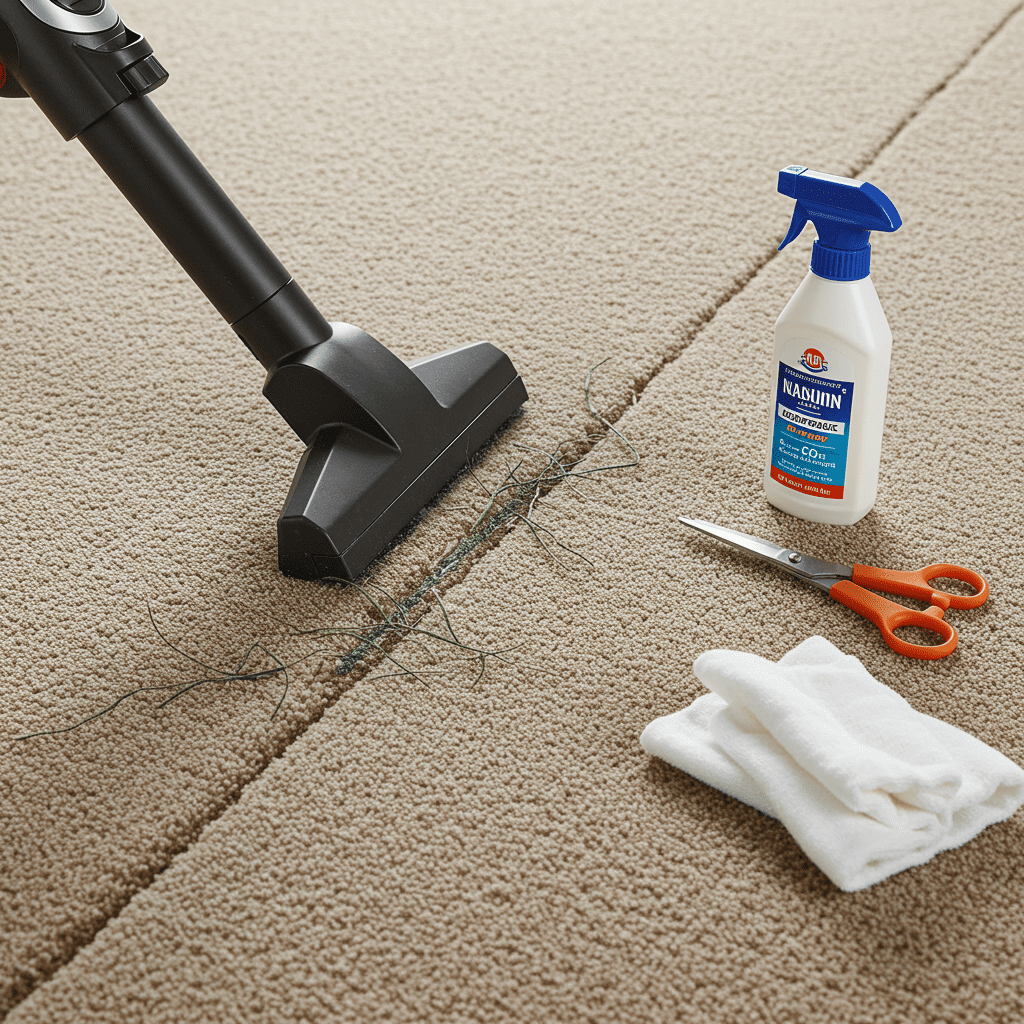
A clean and clear surface is crucial for effective repair. Follow these steps:
- Vacuum the Carpet: Remove dust, dirt, and debris from the damaged area to prevent adhesive issues.
- Spot Clean (if needed): Use a mild carpet cleaner to remove stains or moisture around the seam. Allow it to fully dry before proceeding.
- Trim Loose Fibers: Use a carpet trimmer or scissors to tidy up frayed edges, ensuring the repair looks neat and seamless.
Assessing the Extent of Seam Damage
Understanding the severity of the seam issue helps determine the right repair method:
- Small Tears or Fraying: These can typically be fixed with adhesive or seam tape.
- Wide Gaps or Separation: Larger gaps may require heat-activated seam tape and alignment with a seam roller.
- Underlying Issues: Check for moisture, subfloor movement, or poor installation that may have contributed to the damage.
Gathering Necessary Materials
Make sure you have all supplies ready before starting the repair:
- Essential Tools: Gather seam tape, seam iron, adhesive, rollers, and safety gear like gloves and knee pads.
- Cleaning Supplies: Keep vacuum cleaners, cleaning agents, or towels nearby for quick touch-ups.
- Extras: If repairs require precision cutting, ensure sharp utility knives and measuring tape are ready.
Workspace Preparation Tips
Organizing your workspace boosts productivity and reduces accidents:
- Create a Clear Area: Remove furniture, obstacles, or any items around the damaged seam. This helps you navigate the space easily.
- Protect Nearby Carpet: Use painter’s tape or plastic sheeting to shield surrounding areas from excess adhesive or debris.
- Ensure Ample Lighting: Use bright, focused lighting to spot subtle damage and align seams perfectly.
- Ventilation Matters: Keep windows open or fans running, especially when working with adhesives or heating tools.
A tidy, well-equipped workspace sets you up for a successful repair outcome.
Related Read: Will Vacuuming Get Rid of Carpet Beetles?
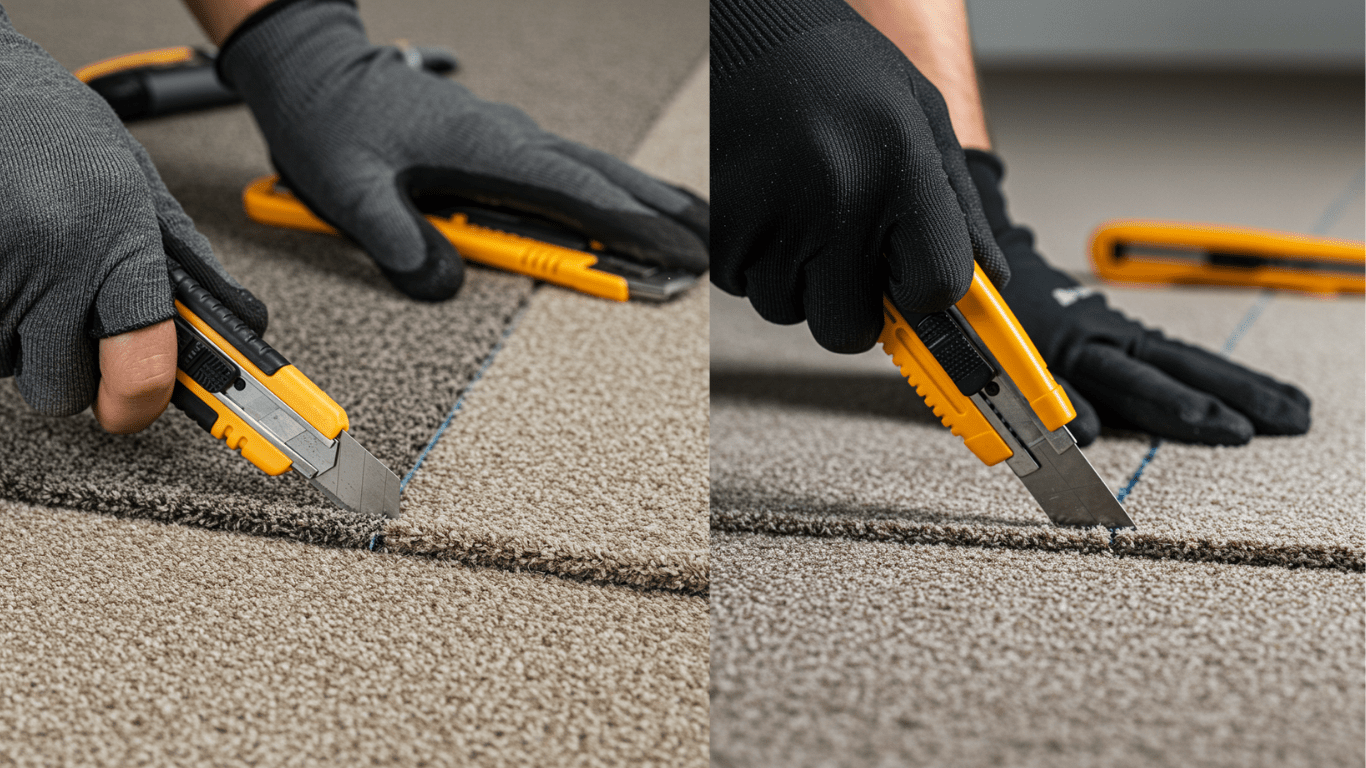
Step-by-Step Seam Repair Techniques
Repairing carpet seams might seem intimidating, but with the right methods and tools, you can restore your flooring like a pro. Whether you’re using a cold or hot repair technique or working with different carpet types, these techniques will guide you step by step to achieve a seamless finish.
Cold Seam Repair Method
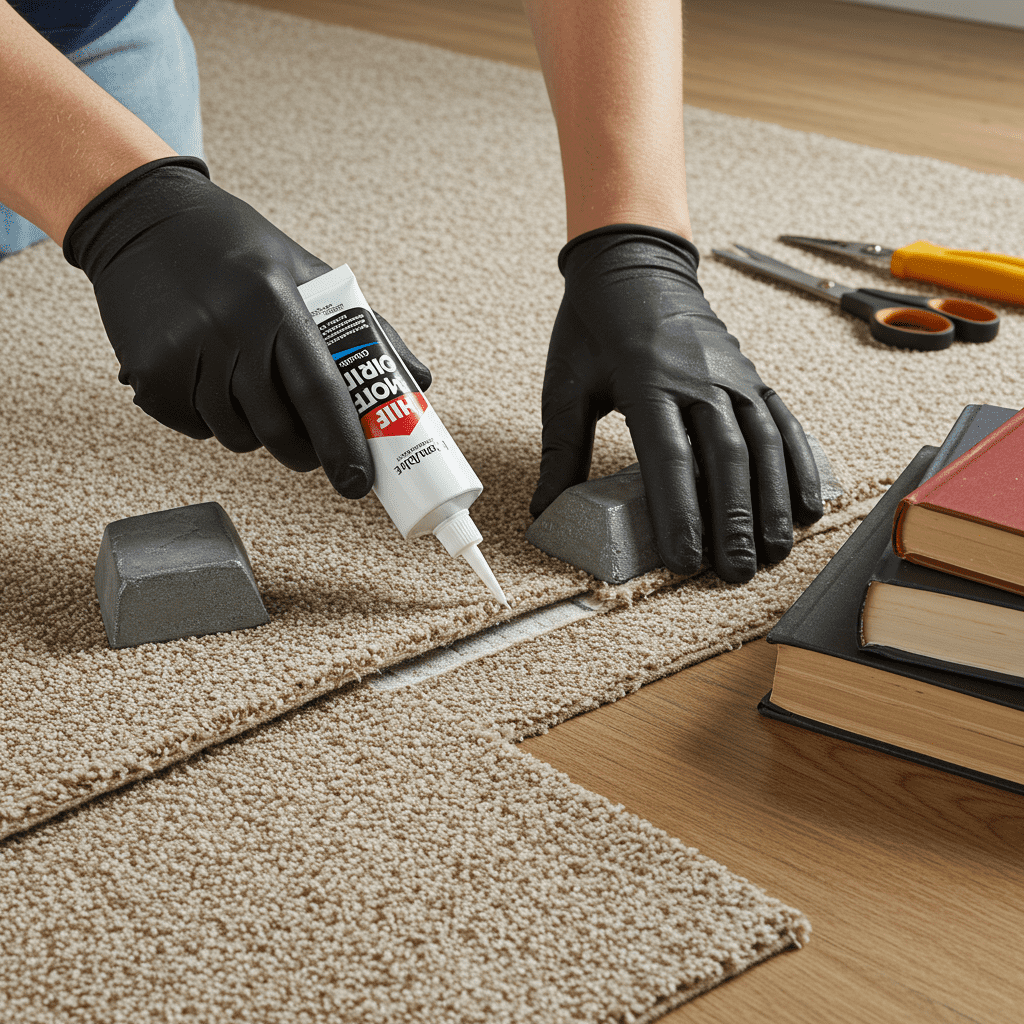
The cold seam repair method is ideal for minor seam damage and requires no heat-based tools. Here’s how it’s done:
- Clean and Trim: Vacuum and trim any frayed fibers around the seam for a clean working area.
- Apply Seam Adhesive: Use a high-quality cold seam glue along the edges of the damaged area. Ensure you apply it evenly to avoid clumps.
- Join the Pieces: Carefully align the carpet edges together, pressing firmly to secure them.
- Weight It Down: Place heavy books or flat weights over the seam to keep it in place while the adhesive dries (typically 24 hours).
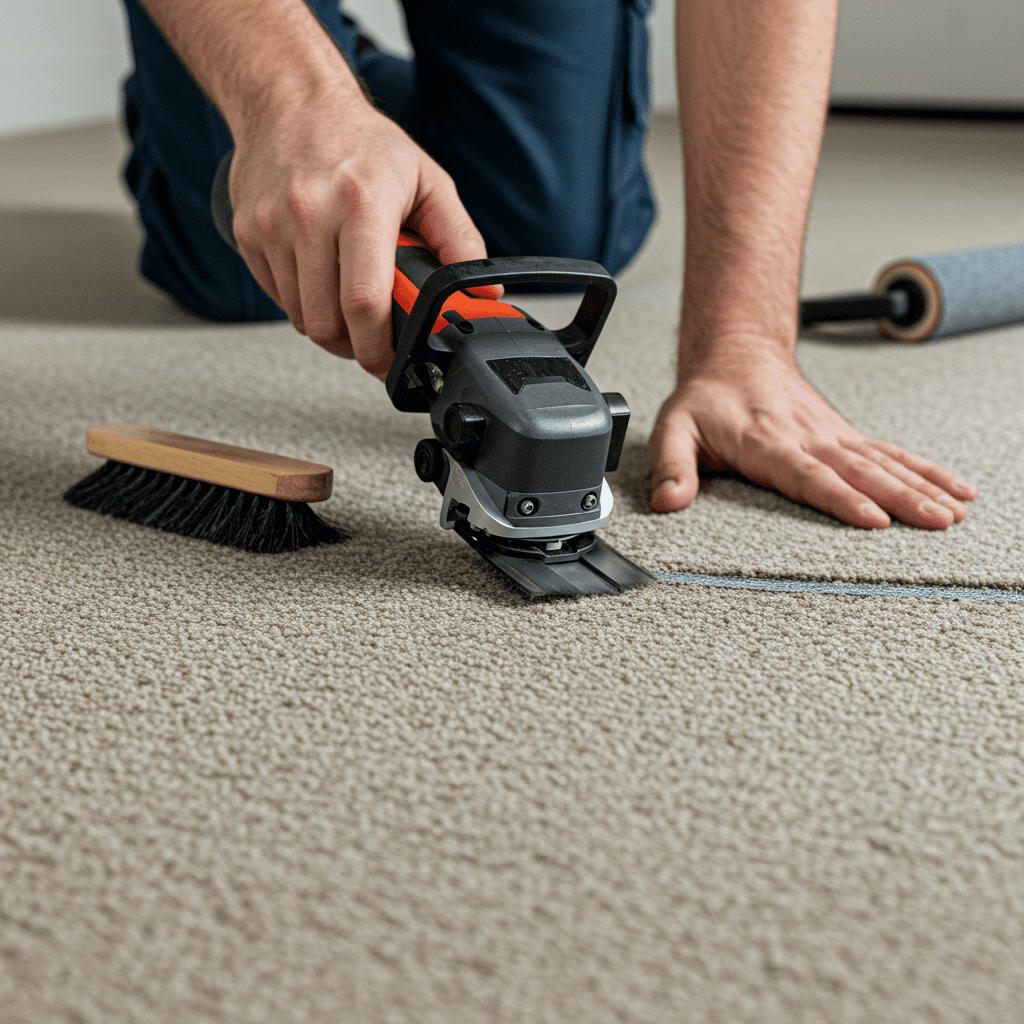
Hot Seam Repair Technique

The hot seam repair technique is more durable, making it perfect for high-traffic areas or larger seam separations:
- Prepare the Area: Clean the seam thoroughly and remove any loose fibers.
- Install Seam Tape: Place heat-activated seam tape under the gap between the carpet pieces, adhesive side up.
- Use a Seam Iron: Preheat the seam iron to the appropriate setting and slowly glide it along the tape, melting the adhesive.
- Press the Seam: Secure the carpet edges by pressing them into the melted adhesive with a seam roller.
- Let It Cool: Allow the adhesive to cool completely before walking on the area to avoid shifting.
Dealing with Different Carpet Types
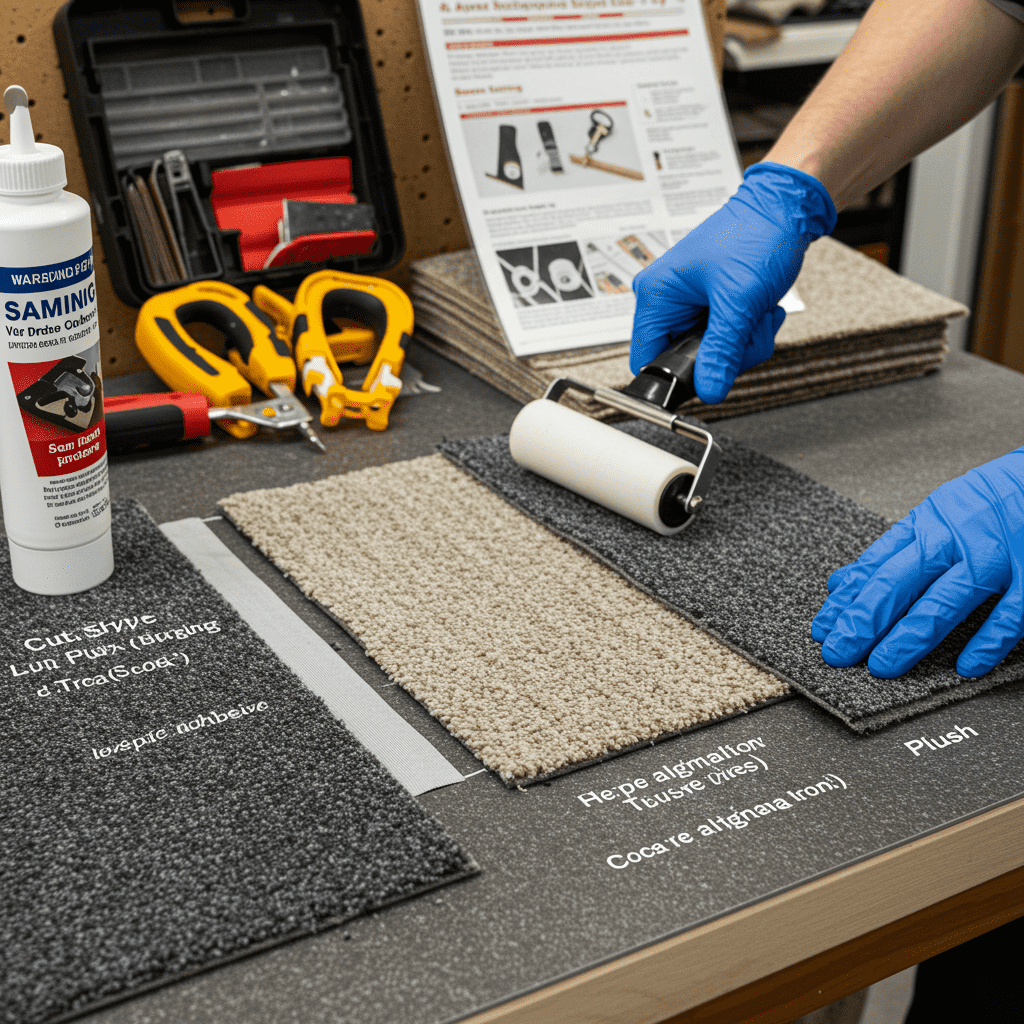
Not all carpets are created equal, and specific types require unique considerations:
- Cut Pile Carpets: These are easier to repair as the fibers blend naturally; follow standard seam repair techniques.
- Loop Pile Carpets (e.g., Berber): Handle these carefully to avoid additional fiber snagging. Use adhesives with precision.
- Thick/Plush Carpets: Ensure the seam is well-aligned, as mismatched fibers can make repairs more noticeable.
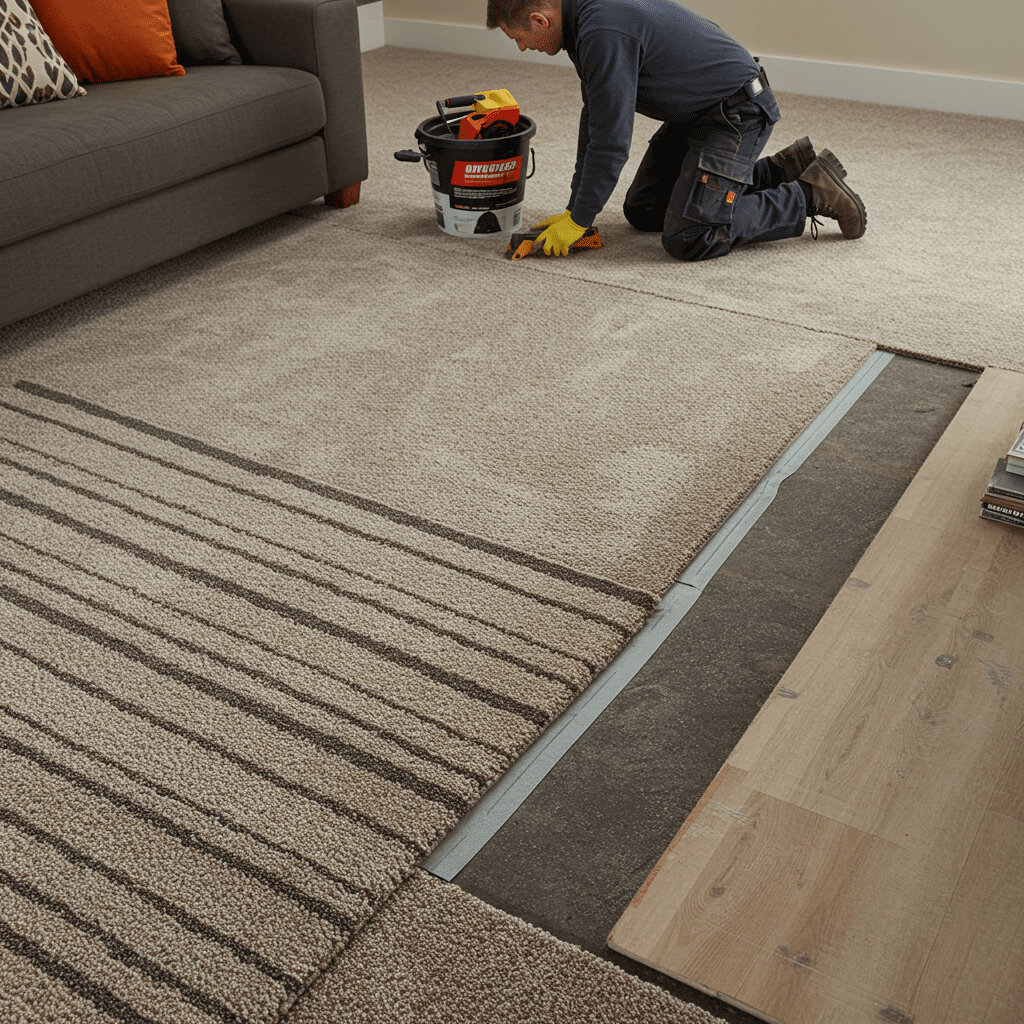
Handling Edge and Center Seam Repairs
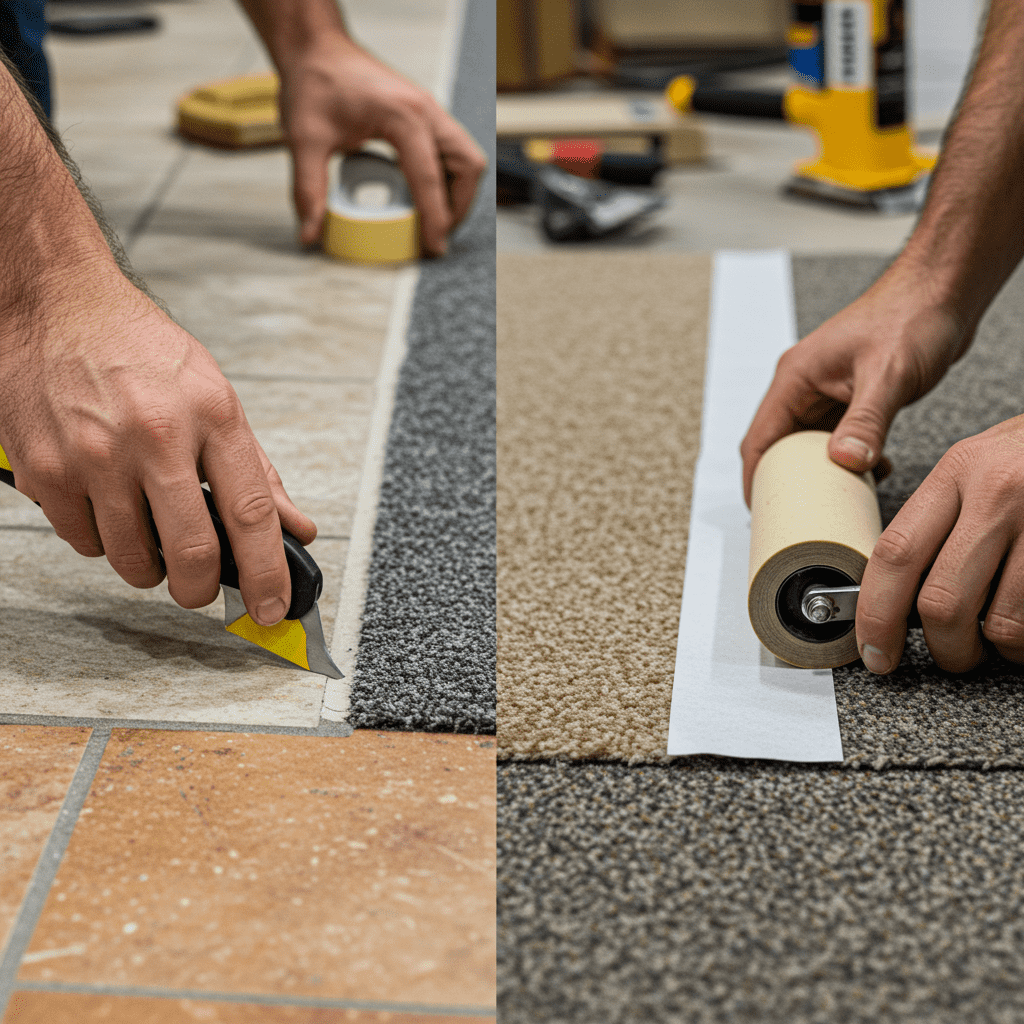
Edge Seam Repairs:
- Use a strong adhesive to reattach carpet edges where it meets another flooring type (e.g., tile or wood).
- Secure the edge with painter’s tape or a light weight to keep it in place as it dries.
Center Seam Repairs:
- For seams in the middle of a room, pay extra attention to alignment before sealing.
- Use a seam roller to ensure there are no visible bumps or misalignments.
Careful handling of edge and center seams ensures the repair looks natural and professionally done.
Related Topic: How to Fix Carpet Burns: 4 Proven Methods to Restore Your Flooring (2025 Guide)
Professional Finishing Touches
Once the repair is complete, adding professional finishing touches ensures your work stands out and lasts over time. These steps focus on perfecting the appearance of the repaired seam and setting a foundation for durability and maintenance.
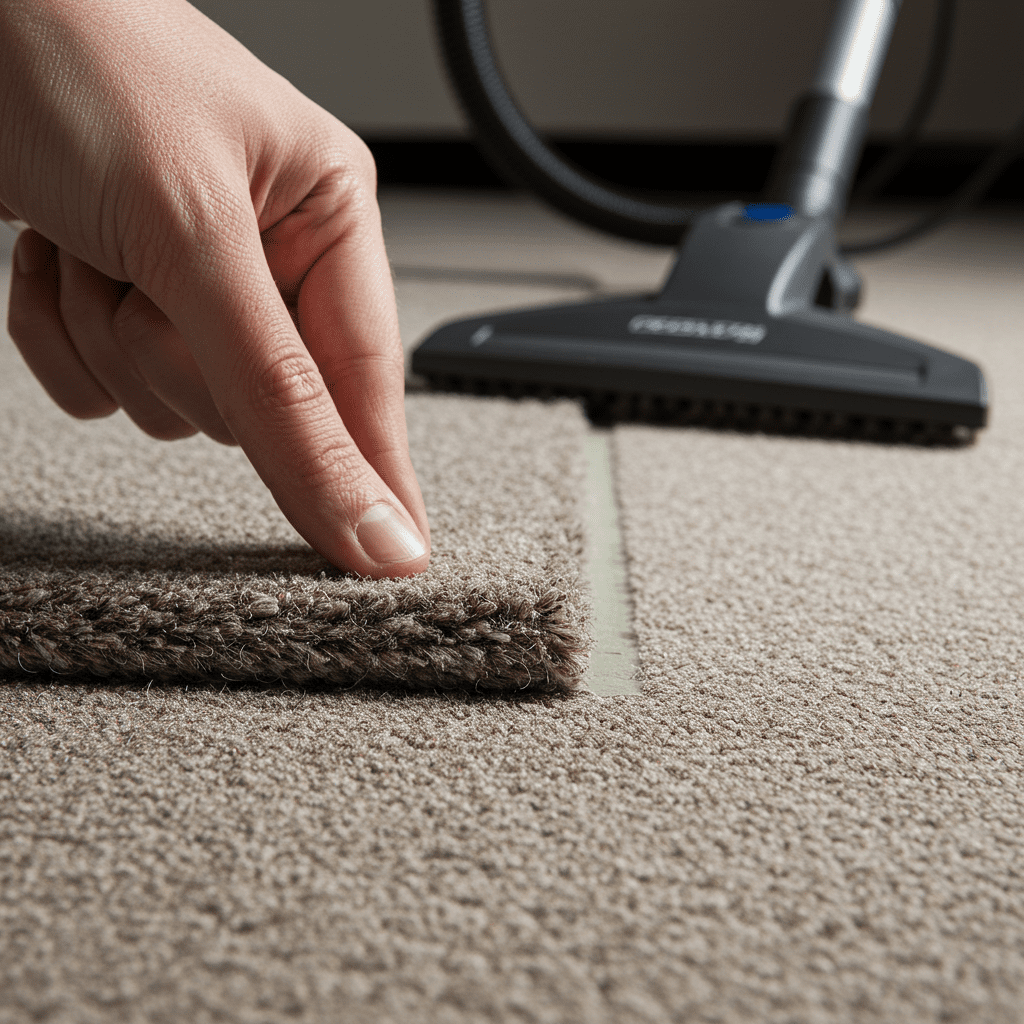
Trimming and Blending Repaired Areas
Achieving a flawless finish requires careful attention to detail:
- Trim Excess Fibers: Use a carpet trimmer or scissors to remove loose threads around the seam.
- Blend Carpet Fibers: Gently brush or comb the fibers near the repaired seam to blend them with the surrounding area.
- Check for Bumps or Unevenness: Run your hands over the seam to ensure it feels smooth. If necessary, use a seam roller again to flatten any raised areas.
Ensuring Seamless Appearance
Small tweaks can make a big difference in how your carpet looks after repair:
- Vacuum Around the Seam: Vacuum the repaired area to align the fibers consistently and eliminate any leftover debris.
- Inspect Under Lighting: Check the repair under different lighting conditions to ensure it’s not visible. Adjust as needed.
- Test Durability: Lightly tug the seam edges to confirm they’re securely adhered and won’t shift under pressure.
Preventing Future Seam Separation
Taking preventive measures now can save you from repeated repairs later:
- Use High-Quality Adhesives: Ensure adhesives used during the repair are durable and suited for your carpet type.
- Distribute Foot Traffic: Use area rugs in high-traffic zones to reduce pressure on seams.
- Address Subfloor Issues: Fix loose or moving subfloors before reinstalling carpet, as they can cause seams to separate over time.
Post-Repair Care and Maintenance
Maintain your carpet’s flawless appearance with consistent upkeep:
- Avoid Heavy Loads: Avoid dragging heavy furniture or objects across the seam to prevent strain.
- Regular Cleaning: Vacuum your carpet weekly to keep dirt and debris from weakening the adhesive.
- Spot Cleaning: Address spills immediately to prevent moisture from damaging the seam over time.
- Routine Inspection: Check seams periodically to catch minor issues early and avoid costly repairs.
Related Topic: Burned Carpet? Here’s How to Fix Cigarette Burns in Carpet Easily
Conclusion
Repairing carpet seams doesn’t have to be intimidating. With the right tools, techniques, and a little patience, you can restore your carpet’s flawless appearance and extend its lifespan, all while avoiding the cost of professional repairs.
Whether you’re tackling minor frays or large gaps, taking a step-by-step approach ensures successful results.
Remember, practice makes perfect. Each repair not only enhances your flooring but also builds your confidence and skills as a DIY home maintenance pro. With proper care and preventive measures, your carpet will remain seamless and beautiful for years to come.
FAQs
How long does a carpet seam repair typically take?
Most repairs can be completed in 1-2 hours, depending on damage complexity.
Can I repair carpet seams myself, or should I hire a professional?
Simple repairs are DIY-friendly; complex or extensive damage may require professional help.
What causes carpet seams to separate?
Common causes include poor initial installation, heavy foot traffic, moisture, and aging.
How much does professional carpet seam repair cost?
Prices range from $100−$300, depending on damage extent and carpet type.
Can carpet seam repairs be permanent?
With proper technique and maintenance, repairs can last several years.
What tools do I absolutely need for seam repair?
Seam iron, carpet tape, utility knife, and carpet adhesive are essential.
1 thought on “Carpet Seam Repair: DIY Guide to Flawless Flooring”