
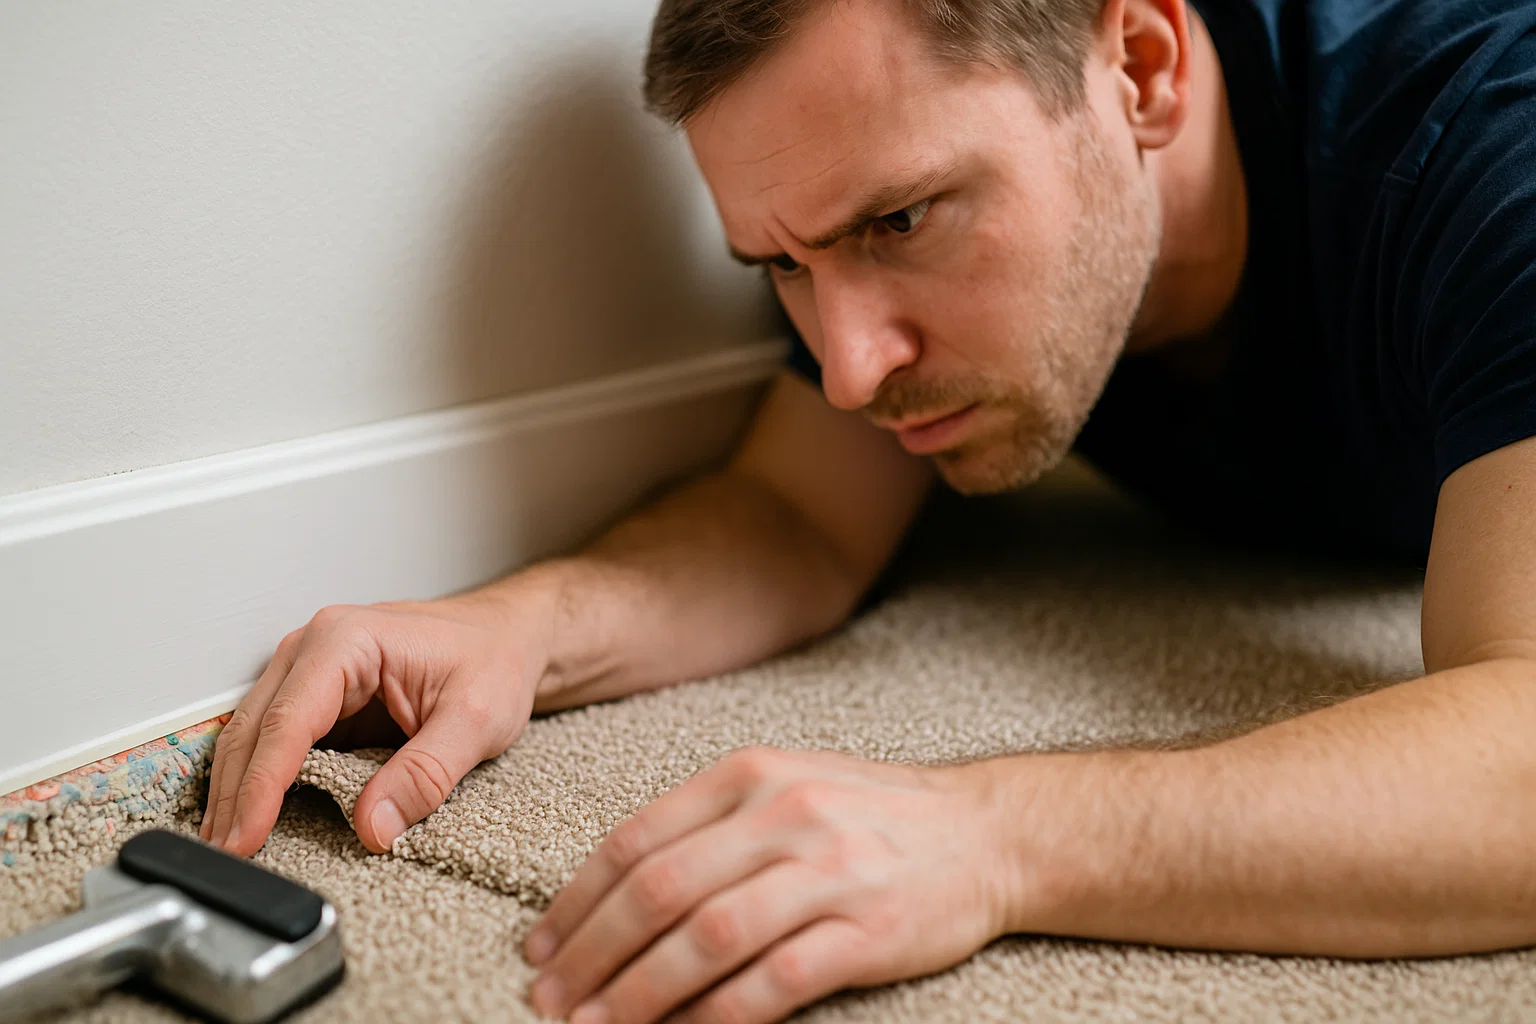
Installing new carpet is one of the fastest ways to refresh and elevate a home’s interior. But while carpet may look simple on the surface, proper installation requires technique, preparation, and attention to detail. Unfortunately, many homeowners and even some installers overlook essential steps leading to uneven surfaces, visible seams, early wear and tear, and expensive do-overs.
Understanding the most common carpet installation mistakes can save you time, money, and frustration.
In this comprehensive guide, we’ll break down the most frequent errors people make during carpet installation, why they happen, how they affect your flooring long-term, and what you can do to prevent them.
Whether you’re planning a DIY project or hiring a professional installer, this guide gives you the knowledge to ensure a smooth, durable, and visually flawless carpet installation.
Major Carpet Installation Mistakes to Avoid
Mistake #1: Skipping Proper Subfloor Preparation
A stable and well-prepared subfloor is the foundation of long-lasting carpeting. Many carpet installation mistakes begin before the carpet even touches the floor.
Ignoring Moisture Issues
One of the biggest errors is failing to check for moisture in concrete slabs or wooden subfloors. Excess moisture can cause mold growth, carpet backing delamination, and adhesive failure.
Installing carpet over damp floors traps moisture, which leads to bad odors and premature carpet deterioration. Always moisture-test concrete and fix leaks before installing any flooring.
Failing to Level the Subfloor
Uneven subfloors create bumps, dips, and inconsistent tension when stretching carpet. Over time, these imperfections become more visible as the carpet fibers settle. Leveling compounds or grinding tools may be required to create a smooth, even surface. A properly leveled subfloor ensures your carpet lays flat and doesn’t wrinkle.
Not Cleaning Debris and Dust
Dust, staples, wood chips, and leftover adhesive can interfere with carpet padding adhesion and cause lumps under the carpet. A thorough sweep and vacuum session is essential. Skipping this step leads to poor padding performance, discomfort underfoot, and unnecessary wear on the carpet base.
Mistake #2: Choosing the Wrong Carpet Padding
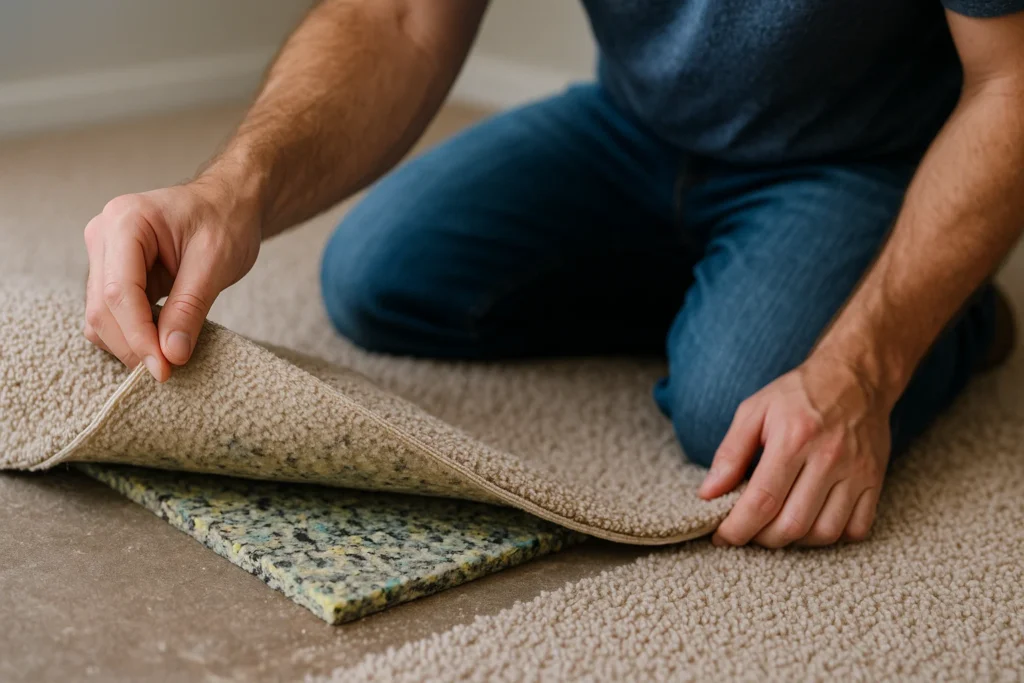
Carpet padding (also called underlay) is not an afterthought—it’s a crucial part of your flooring system. Choosing the wrong padding is one of the most costly carpet installation mistakes homeowners make.
Using Low-Quality Padding
Cheap padding compresses quickly, causing the carpet to flatten and wear faster. Poor padding fails to absorb footsteps, reducing comfort and increasing noise. Investing in high-quality rebond, memory foam, or rubber padding significantly improves carpet lifespan.
Installing the Wrong Thickness
Too-thick padding can cause the carpet to move excessively, making it difficult to stretch properly. Too-thin padding offers little support and increases wear in high-traffic areas. Always follow the manufacturer’s recommended thickness and density for the carpet type you choose.
Mixing Old Padding with New Carpet
Some homeowners try to save money by keeping old padding in place. However, aged padding often holds odors, stains, and dust mites, and it may be compressed or deteriorated. Replacing padding whenever you install new carpet ensures better performance and hygiene.
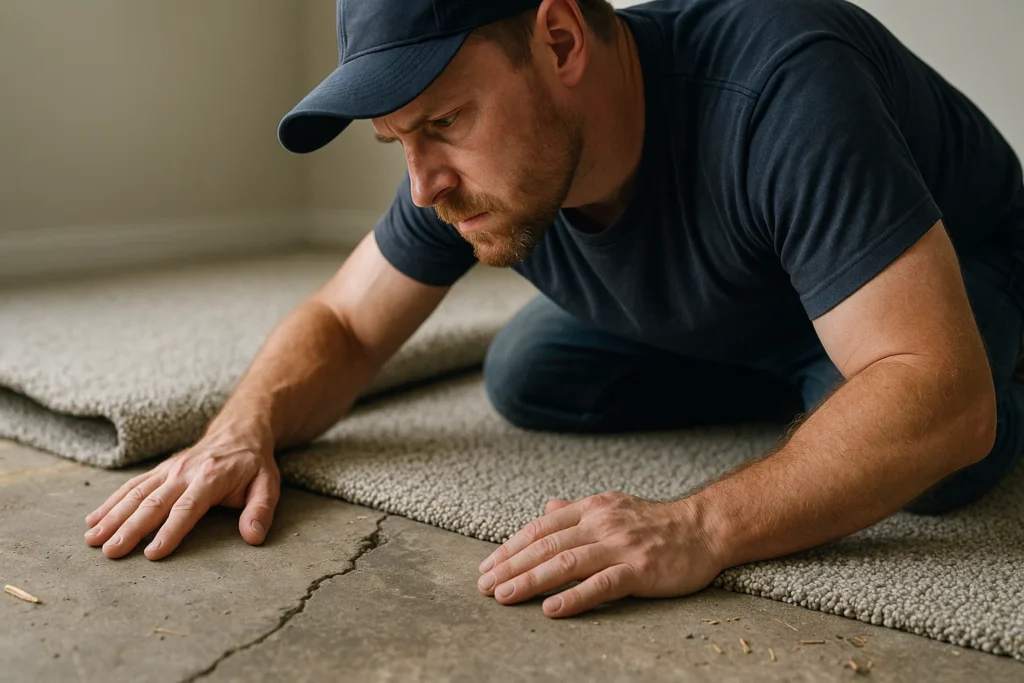
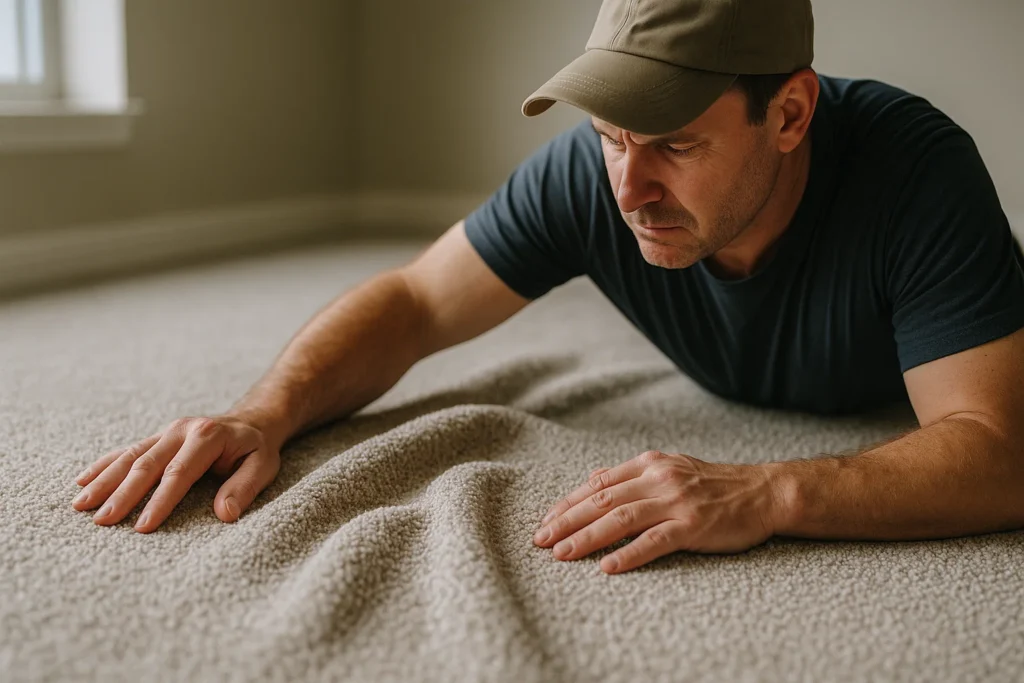
Mistake #3: Incorrect Carpet Stretching
Improper stretching leads to many long-term issues that reduce the carpet’s lifespan and appearance.
Not Using a Power Stretcher
Professionals use power stretchers to ensure the carpet is pulled tight across the entire room. DIY installers often rely only on knee kickers, which are meant for smaller adjustments not full-room stretching. Without adequate stretching, carpets develop ripples and wrinkles within months.
Overstretching the Carpet
While under-stretching is more common, overstretching can weaken carpet backing and cause visible distortion. This mistake usually happens when installers try to compensate for misaligned seams or poor room measurements.
Failing to Re-Stretch for Temperature Changes
Carpet fibers contract and expand slightly depending on humidity and temperature. If the carpet is installed in a cold environment without accounting for later expansion, wrinkles may appear as the carpet adjusts. Ideally, carpets should be installed at room temperature with proper acclimation time.
Related Topics:
Mistake #4: Poor Seam Placement and Seaming Errors
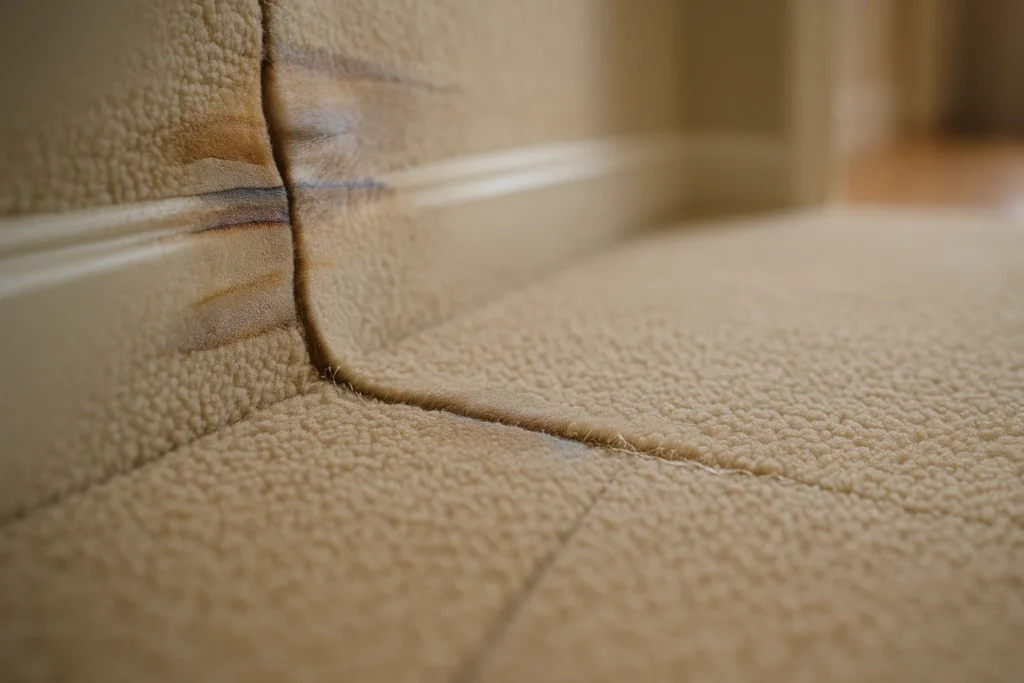
Visible or incorrectly bonded seams can ruin the look of even the most expensive carpet.
Placing Seams in High-Traffic Areas
A common mistake is placing seams where people frequently walk hallways, doorways, and living room entrances. Constant foot pressure causes seams to loosen and become noticeable over time.
Always position seams in low-traffic, inconspicuous areas whenever possible.
Failing to Match the Carpet Pile Direction
When two carpet pieces are seamed together in different pile directions, the fibers reflect light differently, creating a noticeable color difference. This makes the seam stand out even more. All carpet pieces should flow in the same direction to ensure visual consistency.
Not Using a Seam Sealing Iron or Tape
Seams must be bonded using the correct heat-activated seam tape. Low-quality tape or improper heating results in weak bonds that split over time. Professional seam irons ensure the adhesive melts evenly and creates a strong hold.
Neglecting to Seal Carpet Edges
Before seaming, edges should be sealed to prevent unraveling. Edge sealing prevents fraying, which is one of the most common carpet seam failures.
Mistake #5: Incorrect Tack Strip Installation
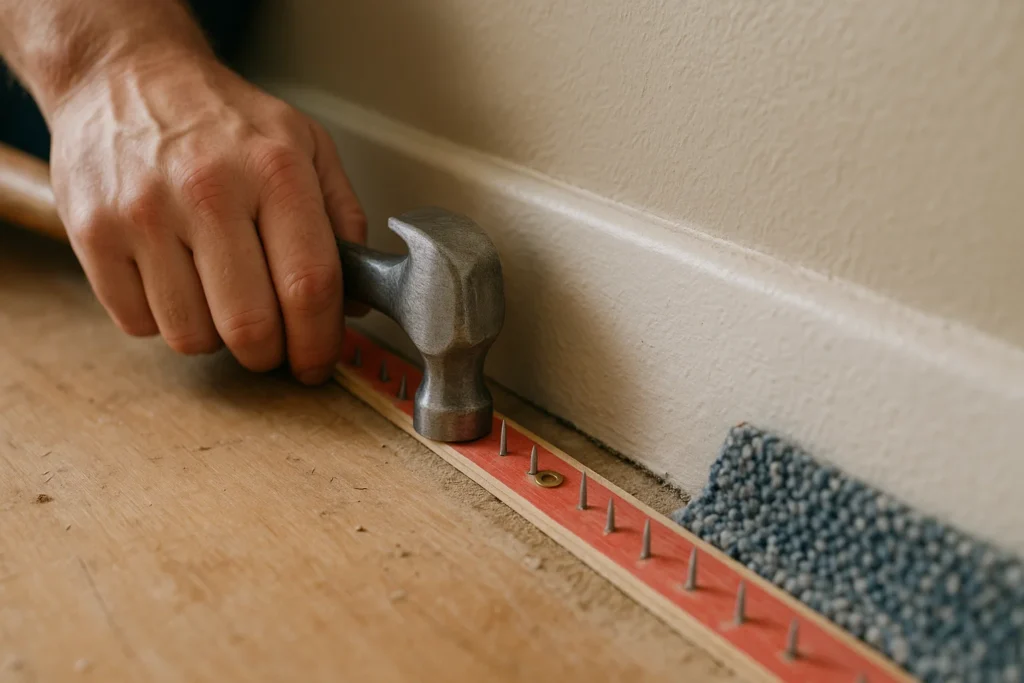
Tack strips are essential for securing carpet around the room’s perimeter. Improper positioning leads to loose carpet or visible edges.
Placing Tack Strips Too Close to the Wall
Tack strips should be installed approximately 1/4 inch from the wall. Many DIYers place them flush against the wall, which leaves no room for tucking the carpet properly. The gap is crucial for achieving clean, professional-looking edges.
Using the Wrong Type of Tack Strip
Different flooring types require different tack strips. For example, concrete floors require masonry tack strips, while wood subfloors use standard wood strips. Using the wrong strip leads to loose carpet or nails that won’t hold.
Installing Too Few Tack Strips
Sparse tack strip installation results in weak carpet anchoring. More strips are needed around corners, doorways, and high-tension areas. Missing or improperly spaced strips cause the carpet to pull away over time.
Mistake #6: Bad Measurements and Cutting Errors
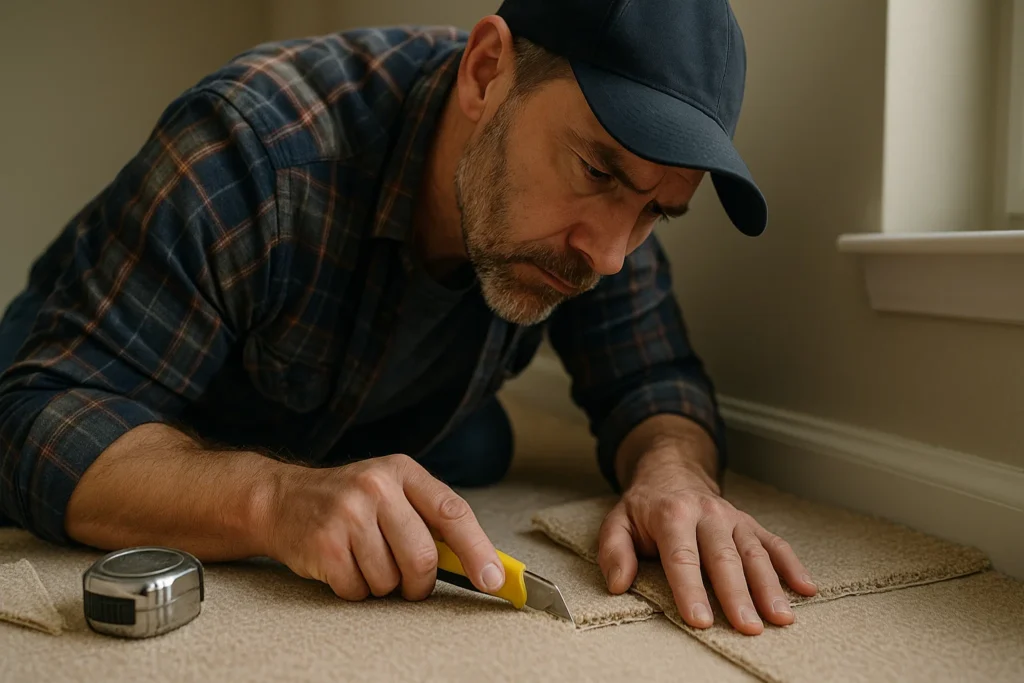
Measurement mistakes lead to visible imperfections and costly material waste.
Not Measuring Rooms Accurately
Rooms are rarely perfect rectangles. DIY installers often measure only length and width, forgetting alcoves, closets, angles, or transitions. Miscalculations lead to shortage issues that require adding unnecessary seams.
Cutting the Carpet Too Small
This is one of the most irreversible carpet installation mistakes. If the carpet is cut too short, installers may try to stretch it excessively or patch it with small pieces—both of which ruin the final look. Always cut slightly larger than needed.
Poor Cutting Techniques
Dull blades tear carpet fibers and create jagged edges that fray over time. Professionals always use sharp knives and cut from the backing side for precision.
Related Topic: What Type of Carpet Stays the Cleanest? The Ultimate Guide for a Spotless Home
Mistake #7: Incorrect Transition Strip Installation
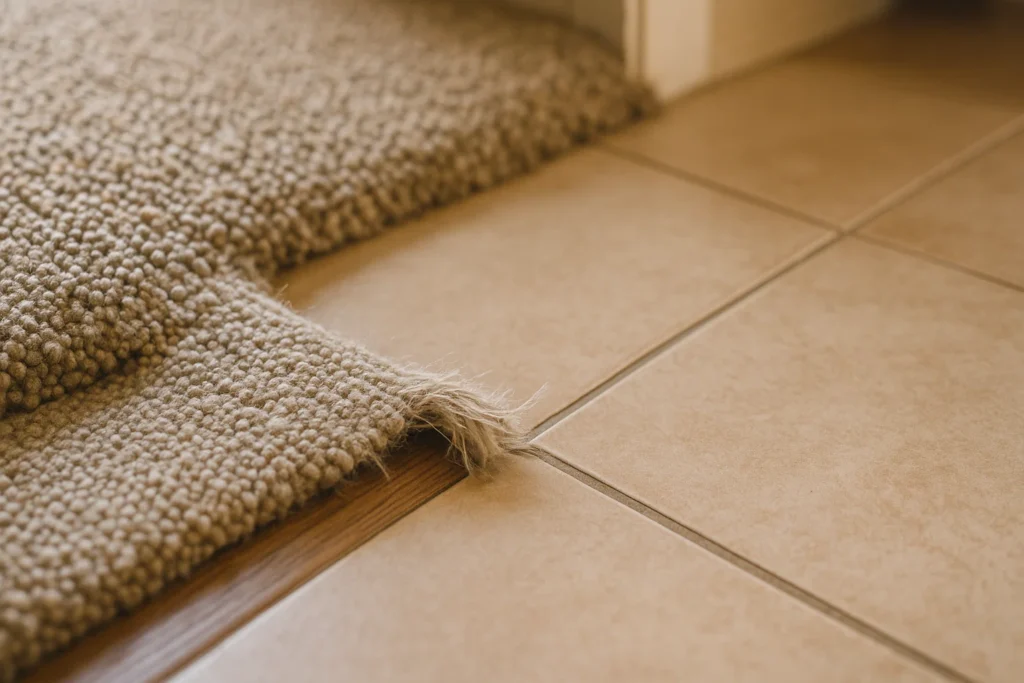
Transition strips connect carpet to tile, hardwood, or vinyl flooring. Poor installation leads to hazards and finishing issues.
Skipping Transition Strips Entirely
Some installers omit transition strips to save time. This creates exposed carpet edges that fray quickly and lose shape. Transition strips are essential for durability and visual appeal.
Choosing the Wrong Strip Type
Different flooring heights require specific trims (T-molding, reducer strips, metal transitions). Using the wrong type leads to uneven flooring transitions or tripping hazards.
Not Securing Transition Strips Properly
Loose transition strips easily detach or cause the carpet to pull away from doorways. Ensuring secure anchoring prevents long-term problems.
Mistake #8: Using the Wrong Carpet for the Space
Sometimes the biggest mistake isn’t in the installation it’s choosing the wrong carpet for the room.
Using Plush Carpet in High-Traffic Areas
Plush or high-pile carpets show footprints, vacuum lines, and wear quickly in hallways and living rooms. Loop pile and low-pile carpets are better suited for traffic-heavy zones.
Installing Non-Moisture-Resistant Carpet in Basements
Basements often have higher moisture levels, making synthetic fibers or waterproof carpet tiles a better choice. Natural fibers like wool can absorb moisture and develop odors or mildew.
Choosing the Wrong Carpet for Pets
Homeowners with pets need stain-resistant, odor-resistant carpet with a durable backing. Using delicate carpet fibers leads to faster wear and difficult cleaning.
Mistake #9: Poor Carpet Adhesive Application
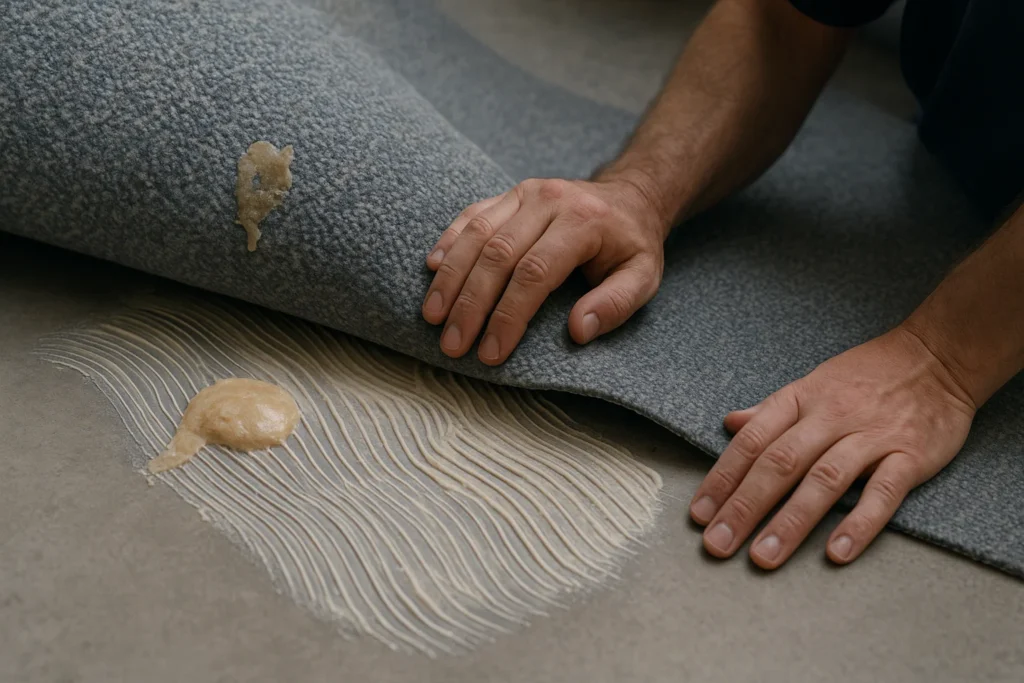
Some carpets, especially in commercial settings, are glued directly to the floor. Improper adhesive use causes serious long-term problems.
Using Too Much Adhesive
Excess adhesive can seep through the carpet backing, creating hard spots or stains. It also increases drying time and may affect carpet texture.
Not Using Enough Adhesive
If too little adhesive is used, the carpet may bubble, loosen, or shift over time. Proper adhesive coverage ensures stable and secure bonding.
Skipping Adhesive Acclimation
Adhesive requires specific temperature and humidity conditions to cure properly. Ignoring manufacturer instructions is a leading cause of glue failure.
Mistake #10: Not Allowing Carpet to Acclimate Before Installation
Carpet materials expand and contract with environmental changes. Failure to acclimate carpet leads to misalignment, rippling, and seam problems.
Installing Carpet Right After Delivery
Carpet brought directly from a cold truck into a warm home will expand once it warms up. Installing immediately prevents proper tension and creates post-installation wrinkles.
Ignoring Manufacturer Guidelines
Each carpet fiber type has recommended acclimation times typically 24–48 hours. Skipping this step is one of the easiest yet most damaging carpet installation mistakes.
Mistake #11: Poor Room Preparation
A cluttered room or inadequate preparation can slow installation and lead to oversights.
Not Removing Furniture
Professionals require an empty room for accurate measurements and clean installation. Leaving furniture behind creates obstacles that lead to rushed or uneven carpet placement.
Not Removing Old Staples or Tack Strips
Old hardware left behind can damage new carpet or create bumps underneath the surface. Thorough removal prevents long-term issues.
Not Checking Door Clearance
New carpet and padding height can prevent doors from opening or closing properly. Installers may need to shave or adjust doors after installation.
Mistake #12: Hiring Inexperienced or Unqualified Installers
Even premium carpet can look bad if installed incorrectly.
Choosing the Cheapest Installer
Low bids often indicate shortcuts, lack of certification, or substandard tools. Carpeting is a long-term investment quality installation ensures durability and aesthetics.
Not Asking for Previous Work Examples
Professional installers should have references, photos, or portfolios. Skipping this step leaves you vulnerable to poor craftsmanship.
Not Confirming Warranty Requirements
Some carpet warranties require certified installers. Hiring unqualified workers may void your warranty and cost you more in repairs later.
Related Topics:
Conclusion
Avoiding these common carpet installation mistakes can save you from premature wear, visible seams, ripples, and costly repairs. Whether you’re handling a DIY project or working with professionals, proper planning, accurate measurements, high-quality materials, and correct installation techniques make all the difference. With the right approach, your carpet will look beautiful, feel comfortable, and last for many years exactly as it should.
FAQs
What are the most common carpet installation mistakes homeowners make?
The most common errors include poor subfloor preparation, incorrect stretching, choosing low-quality padding, and bad seam placement. These mistakes lead to ripples, visible seams, and premature wear. Understanding these issues helps ensure a smoother installation process.
How can I prevent wrinkles in my carpet after installation?
Wrinkles usually appear when the carpet isn’t stretched properly using a power stretcher. Allowing the carpet to acclimate before installation and ensuring the room is at normal temperature also helps prevent rippling. High-quality padding and correct tack strip placement further reduce the risk.
Is DIY carpet installation worth it?
DIY carpet installation can work for small rooms or budget projects, but it requires specialized tools like power stretchers and seaming irons. Mistakes can be expensive to fix. For large rooms or high-quality carpets, professional installation is usually a better investment.
How long should carpet last after proper installation?
With correct installation, good padding, and routine maintenance, carpet can last 10–20 years depending on the fiber type and traffic levels. Poor installation drastically shortens carpet lifespan by causing premature wear, rippling, and seam failure.
1 thought on “Top Carpet Installation Mistakes Homeowners Must Avoid”