
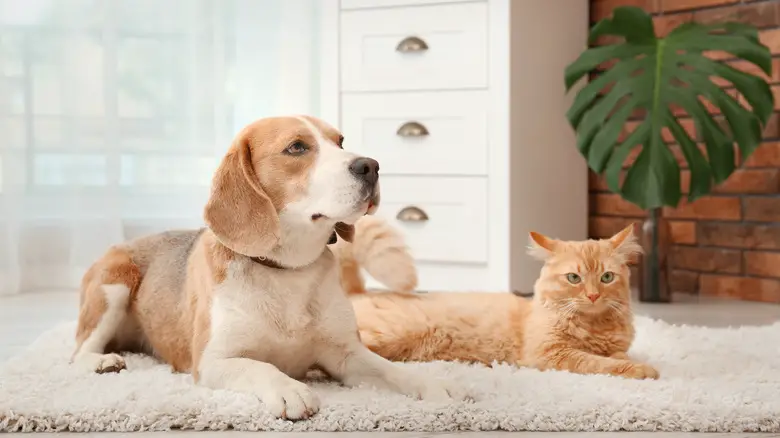
Pets are a source of immeasurable joy and companionship in our lives, but they can sometimes leave a mark on our homes quite literally when it comes to our carpets. Scratches, bites, or the occasional accident can lead to visible and sometimes significant damage.
However, there’s no need to despair; with the right approach and tools, you can repair most types of carpet damage caused by your furry friends. This guide will walk you through the essential steps to restore your carpet to its former glory, ensuring a happy home for both you and your pets.
Inspect the Extent of the Damage
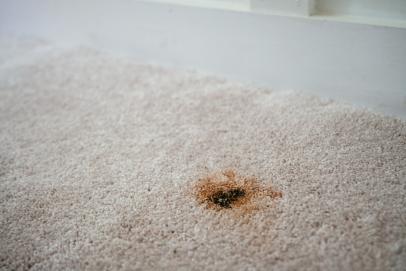
Before embarking on any repair, it’s crucial to carefully inspect the extent of the damage. Look for any loose threads, torn areas, or spots where the underlying padding may be exposed.
If the damage is from an accident involving urine or another substance, be mindful of potential odors or stains that may require special attention. Take note of the carpet’s pile and weave, as this will determine the best repair method.
Sometimes, a simple trim or patch job can suffice, but more extensive harm might necessitate professional intervention.
Assessing the Repair Approach
Once you’ve assessed the damage, you need to determine the scope of the repair. If it’s a small area with minor fraying or a few pulled threads, these can often be hand-repaired or patched with a remnant piece of carpet. For such minor fixes, a simple DIY approach could be the most cost-effective and quickest solution.
On the other hand, if the damage covers a large section or is in a highly visible area, you might need to consider replacing a substantial part of the carpet.
When replacement is required, it’s essential to match the carpet’s texture and color to maintain the room’s aesthetic, and in such cases, it may be prudent to consult with or hire a professional.
Gather Necessary Tools and Materials
To effectively handle carpet repair, you’ll need to gather certain tools and materials. Ensure you have the following:
- Carpet Remnant or Matching Piece: If you’re patching, make sure to have an extra piece of carpet that matches the pattern and color of your current flooring.
- Sharp Scissors or Carpet Knife: These are essential for cutting the carpet cleanly and precisely.
- Carpet Tape or Adhesive: Used to secure the patch or seam in place.
- Measuring Tape: To accurately measure the area that needs to be repaired.
- Heavy Books or Flat Weights: After applying the patch, these can help ensure proper adhesion by providing weight during the bonding process.
- Seam Roller or Spoon: An instrument to blend the patch seamlessly with the surrounding carpet area.
- Gloves: To protect your hands during cutting and handling of rough materials.
- Carpet Seam Sealer: To prevent fraying and ensure the longevity of your repair work.
- Marker or Chalk: Helpful for marking precise cuts on both the damaged area and the patch piece.
Prepare the Damaged Area
Trim any Frayed Edges
Before beginning the repair process, it is vital to trim any frayed edges from the damaged area. Using sharp scissors or a carpet knife, carefully cut away the loose fibers to create a clean edge.
This will ensure a more seamless integration between the patch and the existing carpet and prevent further unraveling or damage.
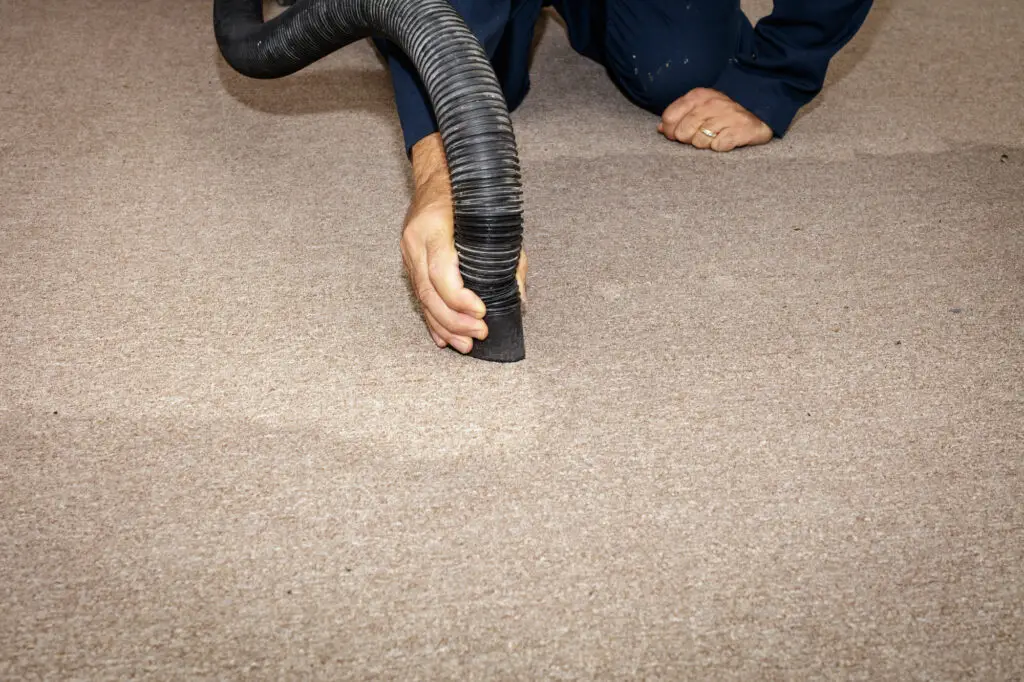
Clean the Area Thoroughly
Before applying the new patch, it’s crucial to clean the area where the carpet repair will take place. This step ensures proper adhesion and prevents dirt or debris from causing unevenness or potentially interfering with the repair materials. Begin by vacuuming the area extensively to remove any loose particles.
If there are any stains, use a mild carpet cleaner and gently blot the area, taking care not to saturate the carpet.
Allow the carpet to dry completely before proceeding to the next step to ensure the tape or adhesive adheres securely to the surface.
Cut the Patch
Measure the Damaged Area
After preparing the surface, measure the dimensions of the damaged section carefully. It’s important to ensure that the replacement piece will fit perfectly into the space. Use your marker or chalk to outline the exact size and shape on the back of your replacement carpet piece.
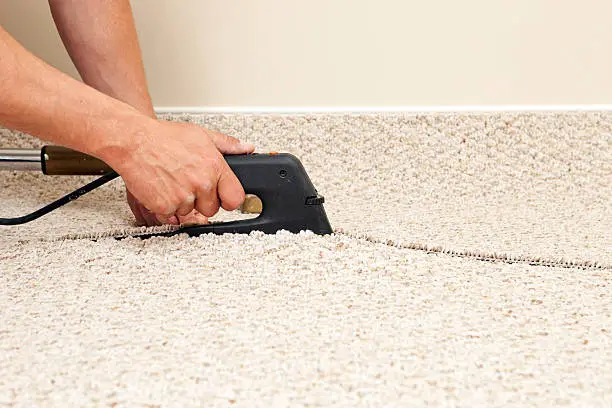
Cut the Replacement Carpet
Place the replacement carpet piece upside down and align the marked measurements. Using a sharp carpet knife and a straight edge to ensure accuracy, cut the replacement piece accordingly.
Double-check the fit by placing the cut patch over the damaged area before adhering, making any minor adjustments to size if necessary.
Match the Pattern or Pile Direction
Once you’ve cut the replacement piece, it is crucial to check that the pattern or pile direction of the new patch matches that of the existing carpet.
This step is essential for a visually appealing repair. Observe the way the fibers lay in the undamaged portion of the carpet and position the patch so that the fibers are aligned in the same direction.
In the case of a patterned carpet, make sure the design lines up exactly with the surrounding area to create a seamless appearance. Mismatched patterns or piles can cause the patch to stand out, drawing unwanted attention to the repair.
Apply the Adhesive
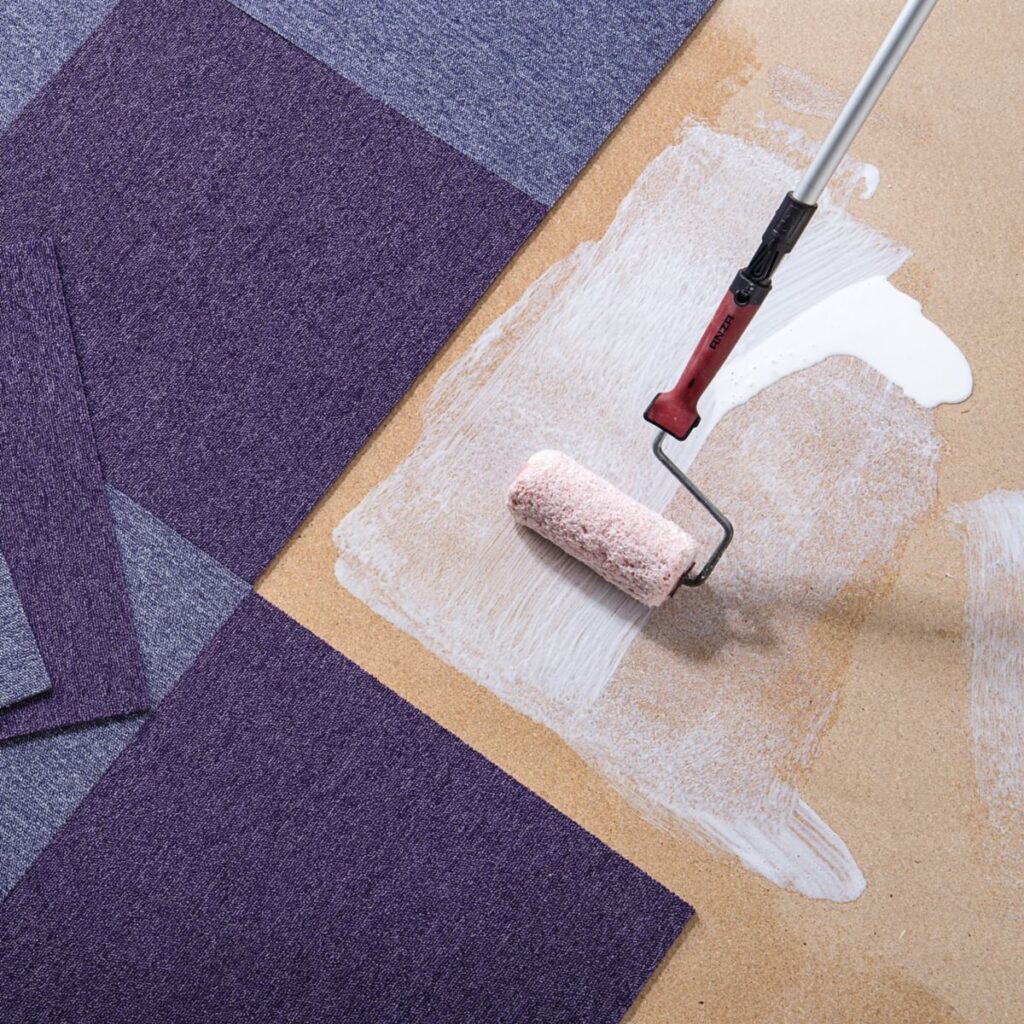
To proceed with adhering the patch to the carpet, follow the manufacturer’s instructions closely for the adhesive you’ve chosen. This usually involves applying a specific amount to the underside of the patch and possibly the area of the carpet where the patch will be placed.
Make certain you follow the guidelines for preparing the adhesive substance, whether it’s a spreadable glue, double-sided tape, or another type of firm-hold product.
After applying the adhesive, carefully position the patch, making sure it’s perfectly aligned with the direction of the carpet fibers or the pattern. Press down firmly to secure the patch in place, starting from the center and working your way to the edges to avoid any bubbles or creases.
It’s vital to allow enough time for the adhesive to set according to the suggested drying time before walking on the area or moving furniture back into place.
Blend the Patch
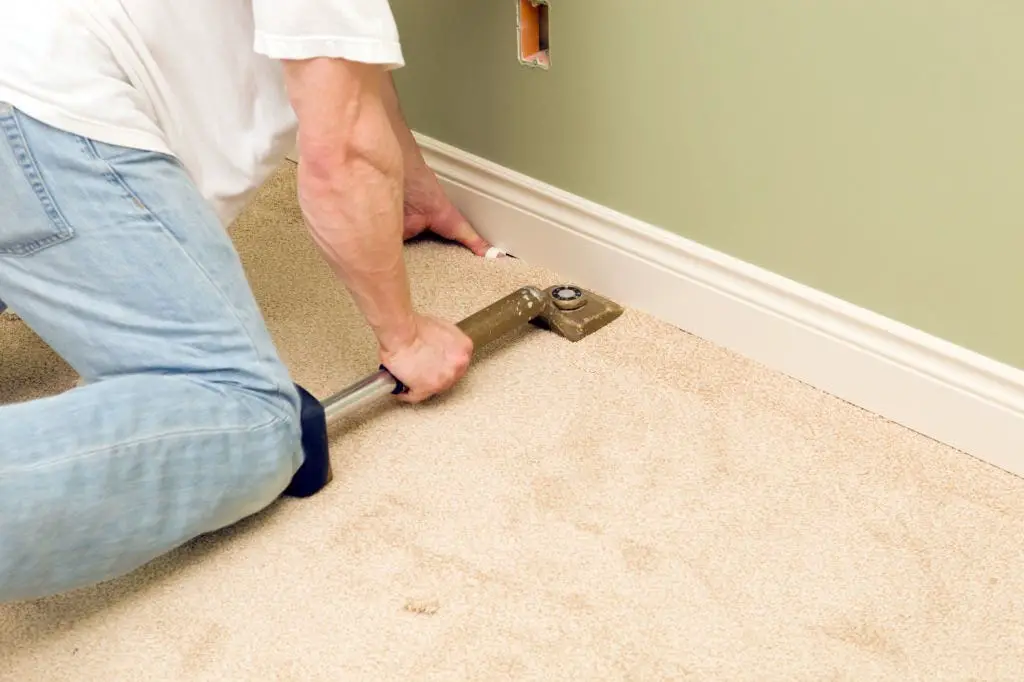
Once the patch is correctly aligned and the adhesive is applied, it’s time to secure it firmly in place. Begin by pressing down firmly at the center of the patch, then push out towards the edges to attach it evenly to the underlying carpet.
It is crucial to eliminate any air pockets that could prevent proper adhesion or cause awkward bumps in the finished appearance. For an even more secure and flat application, use a carpet roller if available.
Roll it over the patch in multiple directions with steady pressure to ensure that every part of the patch makes good contact with the adhesive. If a carpet roller is not available, an effective alternative is to place heavy books or weights over the patched area.
Ensure that the weight is distributed evenly and covers the entire patch to avoid any unevenness.
Leave these weights in place for the duration specified by the adhesive’s drying time instructions to ensure the patch is perfectly bonded to the existing carpet.
Once the patch has fully bonded, the final step is making the repair undetectable by fluffing up the carpet fibers. Using your fingers or a soft-bristled brush, gently tease the fibers around the edges of the patch to blend them with the surrounding area.
This action helps to disguise the seams and can make the transition between the patch and the existing carpet look seamless.
If the carpet fibers have a particular direction or grain, ensure to align your brushing with this pattern for the most natural appearance.
For a more thorough integration, you may also lightly vacuum over the patched area to encourage the fibers to stand uniformly, thus completing the carpet repair with a professional and tidy appearance.
Allow for Proper Adhesion
After following all previous steps meticulously, it’s imperative to allow adequate time for the adhesive to set fully. This wait time is not merely a suggestion; it’s a crucial component of the carpet repair process.
It ensures that the patch adheres firmly to the existing carpet without any shifts or lifting that could compromise the repair. The recommended time for the adhesive to set can vary depending on the product used, temperature, and humidity levels, so it is important to check the manufacturer’s instructions.
During this period, keep the area untouched and avoid any foot traffic over the patch to prevent displacements or damage. Patience during this phase is critical for a durable and seamless carpet repair.
Walking on the newly patched carpet before the adhesive has fully set can lead to a poorly executed carpet repair. The pressure from footsteps could cause the patch to shift or bubble, resulting in an uneven surface and visible seams.
To avoid this, it’s essential to cordon off the affected area if possible, or at least remind household members and visitors to step around it. A visual marker or sign can be helpful as a reminder.
This precaution will safeguard the integrity of the repair work and ensure the adhesive bonds as intended, leading to a more professional and lasting finish.
Related Topics:
Follow-Up Maintenance
Regularly check the patch
Once the adhesive has fully cured, it’s important to regularly check the patched area to ensure it remains secure and integrated with the surrounding carpet. Periodic inspections will help identify any early signs of wear or loosening that may require attention.
This preventive measure is key to maintaining the appearance and longevity of the carpet repair, as well as to preempt any further damage. Keeping an eye on the condition of the patch also allows for timely interventions, should additional maintenance be necessary.
Vacuum the area
In maintaining your carpet post-repair, regular vacuuming of the area is paramount. Not only does this remove surface dirt and debris, but it also helps to keep the pile of the carpet lifted and uniform, which contributes to a consistent aesthetic across your flooring.
This routine cleaning should be gentle to prevent stressing the new patch, particularly in the early stages after the repair. Utilizing a vacuum with adjustable suction and brushes can facilitate the safe and effective cleaning of the patched section and its periphery.
Conclusion
In closing, repairing carpet damage caused by pets is a challenge that pet owners can confidently address with the right approach.
Whether you’re dealing with scratches, bites, or accidents, the guide provided outlines clear strategies from assessing the damage and selecting the appropriate repair method to gather the necessary tools and executing the repair with precision.
The sense of achievement in restoring your carpet not only enhances the visual appeal of your home but also solidifies the harmony between pet ownership and maintaining a beautiful living space.
Remember, patience and attention to detail during the repair process are as important as the regular follow-up maintenance that will ensure your carpet remains a seamless and inviting surface.
So take heart in knowing that even amidst the occasional pet-related mishap, your carpets can be mended, preserving the joy and comfort pets bring to our homes.
FAQs
What are some common types of carpet damage caused by pets?
Pets can cause a variety of carpet damage, including pulled-up loops from clawing, deep stains from accidents, and even ripped sections from chewing. Tracking in mud or dirt from outdoors is also a frequent issue.
Can all types of carpet damage be repaired, or are there cases where replacement is the only option?
While many types of carpet damage can be repaired, such as small tears, stains, or burns, extensive damage that affects the integrity of the carpet or covers a large area may require the replacement of the entire section or the carpet as a whole.
How frequently should I vacuum the repaired area of the carpet, and does this differ from general carpet maintenance?
The repaired area of the carpet should be vacuumed gently but regularly, just as you would with the rest of your carpet. It’s crucial in the beginning to vacuum it carefully to prevent added stress to the new patch but maintain a consistent vacuuming schedule to keep both your repaired area and the entire carpet looking great.
2 thoughts on “How To Repair Carpet Damage By Pets”