

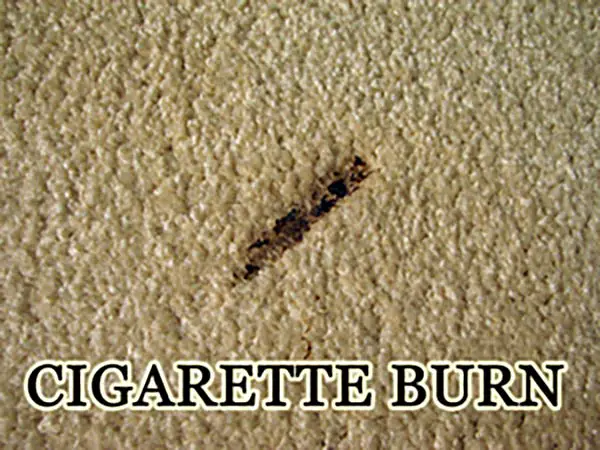
Cigarette burns in carpet are a common yet frustrating household issue. They’re small enough to escape immediate attention, yet big enough to ruin the appearance of your flooring and if ignored, they can lead to long-term damage or even reduce the resale value of your home.
Whether you rent or own your space, the last thing you want is a visible burn spot greeting every guest who walks in. Thankfully, you don’t have to spend hundreds on a professional carpet cleaner or even replace the carpet entirely. With the right tools, a bit of patience, and a strategic approach, you can fix cigarette burns in your carpet yourself and make it nearly impossible to notice.
In this comprehensive guide, we’ll walk you through the exact repair methods based on the severity of the burn: from tiny scorched fibers to full-depth holes. We’ll also share prevention tips, answers to common questions, and advanced tricks to make your repair seamless and long-lasting.
Understanding the Problem

Before diving into solutions, it’s helpful to understand what’s happening on a material level. Carpets are typically made of synthetic fibers (like nylon, polyester, or olefin) or natural fibers (like wool). Cigarette burns affect them in different ways:
- Synthetic fibers melt and harden, leaving a rough, crusty spot that reflects light differently.
- Natural fibers singe, producing a burnt smell and blackening of the area, but usually not a full melt.
Both types of damage can alter the texture, color, and pile height — all of which affect the visual uniformity of your carpet. That’s why even small burns can be very noticeable, especially on light-colored flooring or high-pile carpets.
Tools & Materials You’ll Need
You don’t need a contractor’s toolbox but having the right items will make the repair process faster and neater.
Basic Supplies:
- Sharp scissors or a utility knife
- Vacuum cleaner
- Mild dish soap or carpet cleaner
- Sponge or microfiber cloth
- Tweezers
- Fine sandpaper
- Matching carpet fibers or a spare carpet patch
- Carpet glue or adhesive
- Old toothbrush or fine comb
- A heavy book or flat object for pressure
- Wax paper or parchment paper
Optional but Helpful:
- Fabric marker (to match color in case of fiber transplant)
- Seam roller (for patch blending)
- Steam iron (for fiber nap recovery)
- Carpet adhesive tape (if using patch method)
Step 1: Assess the Severity of the Burn
Cigarette burns come in various sizes and depths. It’s essential to determine the level of damage before choosing a repair strategy:
Light Burns (Surface-Level Scorch Marks)
- No visible hole or melting
- Fiber tips are dark or ashy
- Usually smaller than a coin
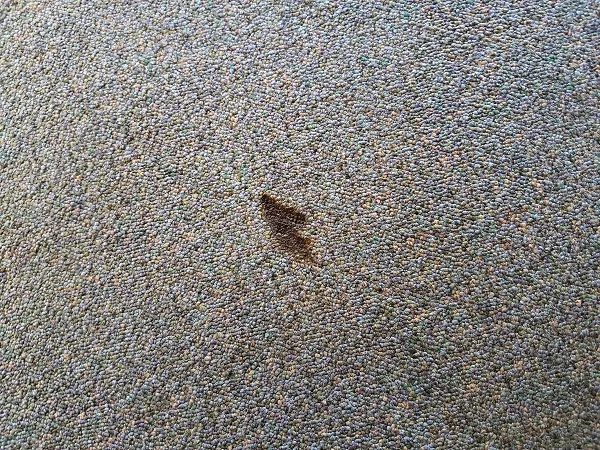
Moderate Burns (Partially Melted Fibers)
- Burnt area is deeper and more obvious
- Some fibers are hardened or blackened
- Carpet backing is still intact
Severe Burns (Holes or Charring into Backing)
- The burn has penetrated through the carpet pile
- Often reveals carpet base or subfloor
- Requires patching with replacement fibers or new carpet piece
Understanding this will save you time and effort, as the repair techniques vary significantly between surface trims and full patch replacements.
Related Reads:
Dealing with stubborn stains too? Learn how to lift them without damage:
How to Remove Old Stains from Carpet Without Damaging Fibers
Step 2: Fixing Light Surface Burns (The Easy Method)
This is the simplest fix, best for barely noticeable scorched spots. Many people don’t realize they can repair this in just 10 minutes with tools they already have at home.
Vacuum the Area:
Clean the surrounding region to remove dust, lint, or loose burnt fibers.
Trim the Burned Tips:
With sharp scissors, snip the topmost layer of the burnt carpet fibers. Try to blend the height evenly with the rest of the carpet — don’t overcut.
Sand the Burn Gently (Optional):
Lightly rub the area with fine sandpaper to remove any remaining darkened residue.
Clean and Blot:
Mix a small amount of dish soap with warm water. Use a damp sponge to blot the area — not rub — to avoid matting the fibers.
Dry and Fluff:
Dab with a clean towel, then fluff the carpet gently with a comb or toothbrush to restore the nap.
Pro Tip: If the trimmed area looks slightly lighter or patchy, use a fabric marker in a matching shade to touch up the color.
Step 3: Fixing Medium Burns with a Fiber Transplant
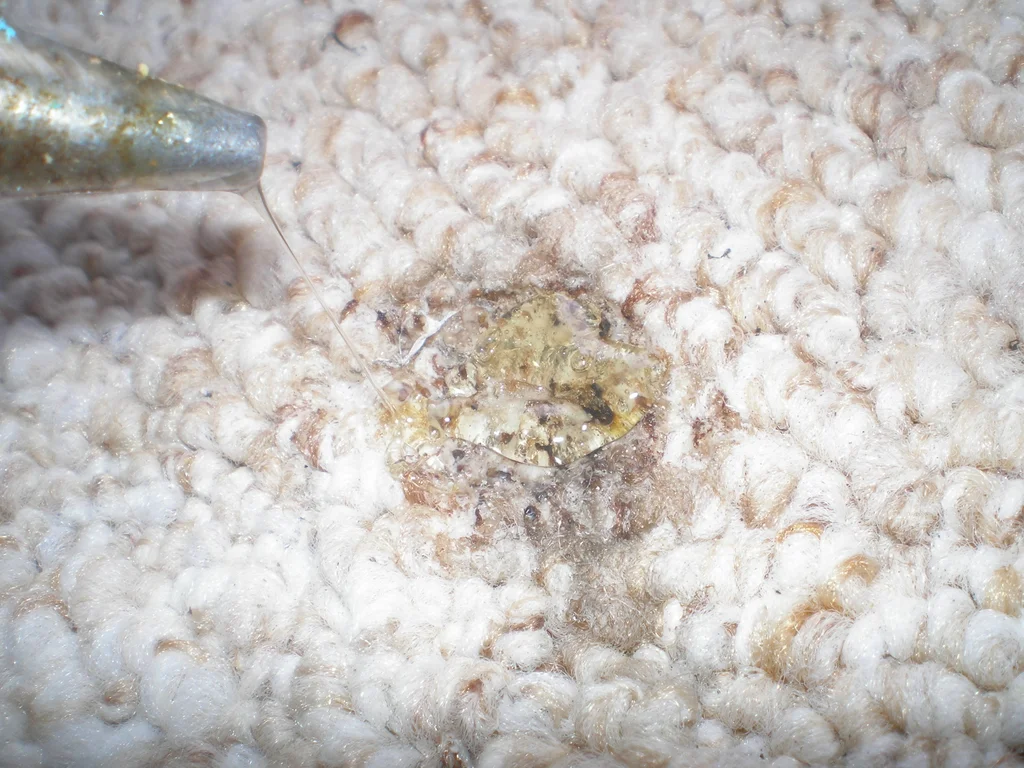
For burns that aren’t deep enough to require a full patch but still leave a visible scar, a fiber transplant is the perfect mid-level solution.
Harvest Matching Fibers:
Find an inconspicuous area (behind a door, under furniture). Use tweezers or small scissors to extract several fibers.
Remove the Burn:
Cut out the blackened, melted fibers. Be careful not to damage the backing underneath.
Apply Glue:
Use a small amount of carpet glue or craft adhesive on the bald spot. Spread evenly using a toothpick or tweezers.
Place New Fibers:
Use tweezers to carefully position each fiber vertically. Pack them tightly enough to match surrounding density.
Weight & Dry:
Cover with wax paper and place a book on top. Let it sit for 6–8 hours.
Blend & Fluff:
Once dry, remove the paper and brush the area with a fine comb.
Pro Tip: For color-matching fibers that look “off,” lightly brush with a fabric dye pen or use diluted food coloring and a cotton swab.
Related Reads:
Need to replace a damaged carpet section? Follow this seamless patch method:
DIY Carpet Patch Repair: A Complete Guide for Beginners
Step 4: Fixing Severe Burns Using a Carpet Patch

If the burn has left a hole or melted deeply into the base, patching is your best option. This takes more time but produces excellent results when done properly.
Cut Out the Burn:
Use a utility knife to cut a clean square around the burned area. Avoid jagged cuts — straight edges blend better.
Find a Replacement Patch:
Use leftover carpet or cut a small piece from a hidden area. Match the pile direction (which way the fibers lean) for a seamless look.
Trim the Patch:
Place the removed square over your replacement piece. Cut precisely around it to get the exact size.
Apply Adhesive:
Coat the floor of the cutout with carpet glue or double-sided carpet tape. Press the patch in place, pile facing the same direction.
Press and Cure:
Cover with wax paper and weigh it down with a book. Let it dry overnight for maximum adhesion.
Final Blend:
Comb edges gently to blend the seam. Optionally, run a seam roller across the edge for a pro finish.
Pro Tip: For patterned or multi-toned carpets, rotate the patch in all directions before applying to see which angle blends best.
Step 5: Mistakes to Avoid When Repairing Carpet Burns
Even simple fixes can go wrong if you’re not careful. Here’s what to avoid:
Over-trimming: You can’t uncut carpet — trim conservatively.
Skipping color match: Fibers may be the same material but age differently. Always compare shades in daylight.
Wrong glue: Superglue is too stiff and dries brittle. Use carpet adhesive or latex-based glue for flexibility.
Rushing drying time: Adhesive needs time to set. Moving too soon can shift fibers or patches.
Step 6: Post-Repair Cleaning & Blending
After the repair, it’s a good idea to clean the entire carpet zone:
Vacuum around the repaired section to lift the pile uniformly. If patching caused surrounding fibers to flatten, lightly steam the area (towel + iron) to refresh texture. Sprinkle a bit of baking soda, let sit for 10 minutes, and vacuum for odor removal and extra fluff.
Related Reads: Fixing Frayed Carpet in Doorway: Expert Tips for a Seamless Repair
Preventing Future Cigarette Burns in Carpet
While you now know how to fix cigarette burns in carpet, prevention is always the better option. Here are smart ways to protect your carpet going forward:
- Use weighted, deep ashtrays in smoking areas.
- Ban smoking in carpeted rooms.
- Place a protective rug in common smoke zones.
- Install smoke sensors that alert you before a fire starts.
- Educate guests or family to be cautious — especially if pets or children are around.
Bonus Tip: If your home has high-traffic smoking areas, consider investing in a flame-resistant carpet material for long-term peace of mind.
FAQs
Can you use a carpet iron to patch burns?
Yes, in professional settings, hot glue guns or seaming irons are used. But for DIYers, carpet tape and adhesive work just fine.
Can I repair Berber carpet burns the same way?
Berber carpet loops are trickier. Fiber transplants are harder to hide. For these, a small patch is usually more effective.
Will this void my carpet warranty?
DIY repairs may void warranties. If your carpet is under warranty, check with the manufacturer first.
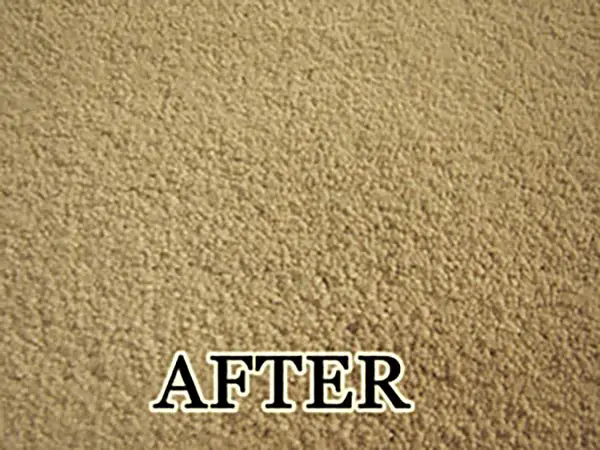
Final Words: Yes, You Can Repair Carpet Burns at Home
Cigarette burns in your carpet might seem permanent, but they’re fixable with the right tools and techniques. Whether it’s a light scorch or a deep hole, you don’t have to live with the damage — nor do you need to spend a fortune on replacement or professionals.
By following this detailed guide, you can restore your carpet, save money, and extend the life of your flooring — all while improving your home’s appearance and hygiene.
Related Read:
Worried about water damage instead? Don’t miss our complete guide:
👉 Should Carpet Be Replaced After Water Damage?
1 thought on “Burned Carpet? Here’s How to Fix Cigarette Burns in Carpet Easily”