
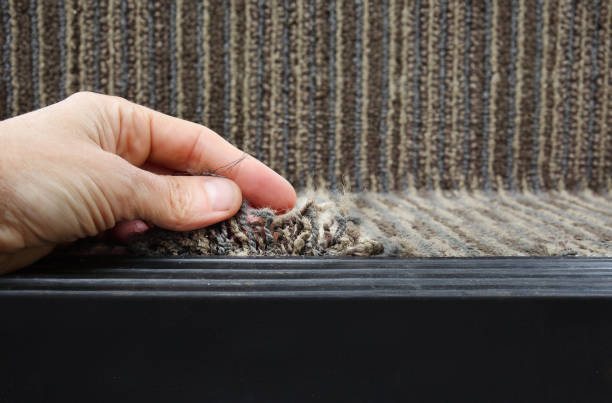
Repairing frayed carpet edges is crucial not only for the aesthetics of your flooring but also for prolonging its overall lifespan. Often caused by wear and tear or the relentless clawing of pets, these frayed edges can quickly become an eyesore and a tripping hazard.
In the following guide, we will walk you through the straightforward steps to mend these imperfections, restoring your carpet’s pristine edges and ensuring it looks as good as new.
With a few simple tools and our focused keyword approach, you’ll learn how to fix frayed carpet edges effectively, boosting the appearance and safety of your living space.
Assess the Damage
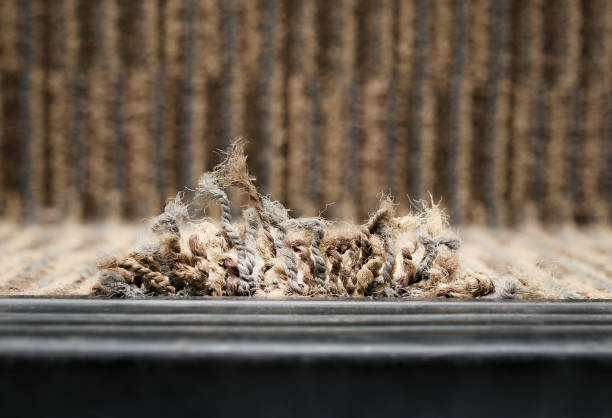
Before initiating the repair process, carefully inspect the affected area of the carpet. Look for the severity of fraying and assess whether it’s contained to a small section or if it’s extensive, which might require additional work.
Gauge the depth of the frayed edges and the condition of the carpet backing as well, since a compromised backing may need special attention.
It’s crucial to understand the full scope of the damage to choose the appropriate repair method and prevent further unraveling or damage to the carpet.
Evaluate the Scope of DIY Repair
After thoroughly examining the damage, it’s essential to decide whether the fraying is manageable for a do-it-yourself repair. If the affected area is small and the rest of the carpet is in good condition, a DIY approach using carpet adhesive or a patching technique may suffice.
However, for extensive damage or if the carpet requires intricate work to match patterns or weaves, it may be prudent to engage professional services.
Professional carpet repair services have specialized tools and techniques that can seamlessly blend the repair, ensuring durability and consistency in appearance.
Remember, a hasty DIY fix on a complex issue can inadvertently lead to a costlier outcome if not performed correctly.
Gather the Necessary Tools and Materials
To commence the repair, you will need to collect a few specialized tools and materials to ensure a smooth process. Here is a list of the essentials:
- Carpet scissors or a utility knife: Essential for cutting the frayed edges cleanly.
- Seam sealer: This will help in preventing further fraying of the carpet edges.
- Weighted objects: These are used to hold the carpet in place during the repair process.
- Heavy-duty carpet tape or adhesive: Necessary for the reattachment of the carpet fibers.
- Replacement carpet fibers: Keep these on hand if the area requires new fibers to blend with the existing carpet.
Prepare the Area
Before initiating the repair process, it’s vital to clean the damaged area meticulously. Any debris, dust, or loose fibers can interfere with the adhesive or the seamless integration of additional fibers. Start by vacuuming the area thoroughly to remove any loose particles.
Then, if necessary, use a mild detergent solution to gently clean the damaged section, being careful not to saturate the carpet and risk the padding beneath.
Allow the area to dry completely before proceeding with the repairs, as moisture can compromise the effectiveness of the adhesives used in the next steps.
After ensuring the area is clean and thoroughly dried, the next step is to remove any loose fibers or threads. This is crucial for preventing future unraveling and for creating a solid base for the repair. Use your carpet scissors or utility knife to carefully trim away frayed edges, doing so with precision to avoid further damage.
Make sure to cut as close to the base as possible for a neat and unnoticeable repair. After this, inspect the area to confirm all loose fibers have been removed before moving on to the next phase of applying the seam sealer.
Trimming Frayed Edges
To expertly remove frayed edges from your carpet, start by using a pair of sharp carpet scissors or a utility knife with a fresh blade. This ensures a clean cut and helps prevent further damage.
Comfortably sit or kneel beside the affected area and, with a steady hand, guide your tool of choice along the damaged edge of the carpet.
Aim to cut in a straight line, using the undamaged neighboring fibers as a guide to maintain the carpet’s original pattern and texture.
With each snip or slice, the goal is to create an even baseline where the new seam will lie. It’s important to exercise caution and trim conservatively to avoid cutting too deep, which could cause a noticeable divot or gap in the carpet’s surface.
Take your time during this process, as accuracy here is critical for the overall aesthetics and longevity of the repair.
Once you’ve removed the frayed areas and are satisfied with the straightness of your work, inspect the edge to ensure it’s ready for the next step: the application of a seam sealer.
Sealing the Edges
After carefully trimming the carpet’s frayed edges, the next step is to apply a seam sealer to prevent future fraying. Select a seam sealer that’s compatible with your carpet material, and carefully apply it along the freshly cut edges.
Use the applicator tip or a small brush for precise application, ensuring that the sealer penetrates the backing without saturating the carpet pile. This will create a new, strong border that deters unraveling and extends the life of the carpet.
Allow sufficient time for the sealer to dry completely, according to the manufacturer’s instructions, before allowing foot traffic over the area or proceeding to any further repair steps.
Once the seam sealer has been meticulously applied to the carpet’s edges, it’s imperative to allow it to dry completely as per the product’s instructions.
The drying time can vary between different sealers; therefore, refer to the label for the recommended period before progressing further. During this interval, keep the area free from foot traffic and avoid any disturbances that may alter the sealer’s efficacy.
A properly dried sealer will ensure a robust and durable bond, preparing the carpet for the seamless joining or affixing of additional pieces if necessary.
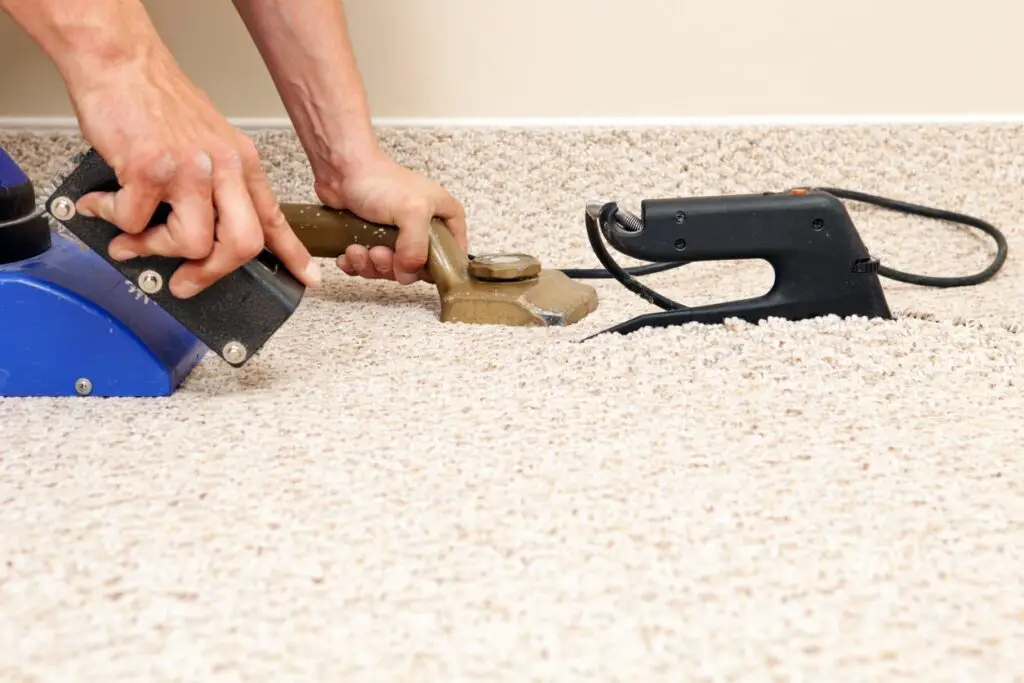
Reattaching or Repairing Fibers
If you find the seam sealer alone is not enough to make the repair aesthetically pleasing particularly if the frayed area remains noticeable it may be necessary to employ additional tactics.
A practical solution is to use heavy-duty carpet tape or a suitable adhesive. Begin by cutting a small patch of carpet that matches the color and texture of your existing carpet or gather some replacement fibers. If using a patch, ensure it’s shaped to fit perfectly into the affected area.
For the adhesive method, apply a small amount of carpet glue to the base of the individual replacement fibers and carefully insert them into the void left by the frayed pieces.
The goal is to evenly distribute the fibers to blend seamlessly with the surrounding carpet. When dealing with a patch, apply the heavy-duty carpet tape or adhesive to the underside of the patch, following the contours carefully to avoid any bulging or unevenness, and then press it firmly into place.
Make sure to apply pressure evenly across the patch to secure the bond. Allow the adhesive or tape to set according to the manufacturer’s instructions usually, this will require a few hours.
After the repair is complete, it should be nearly impossible to spot the previously frayed area, with the carpet looking as good as new.
Related Topics:
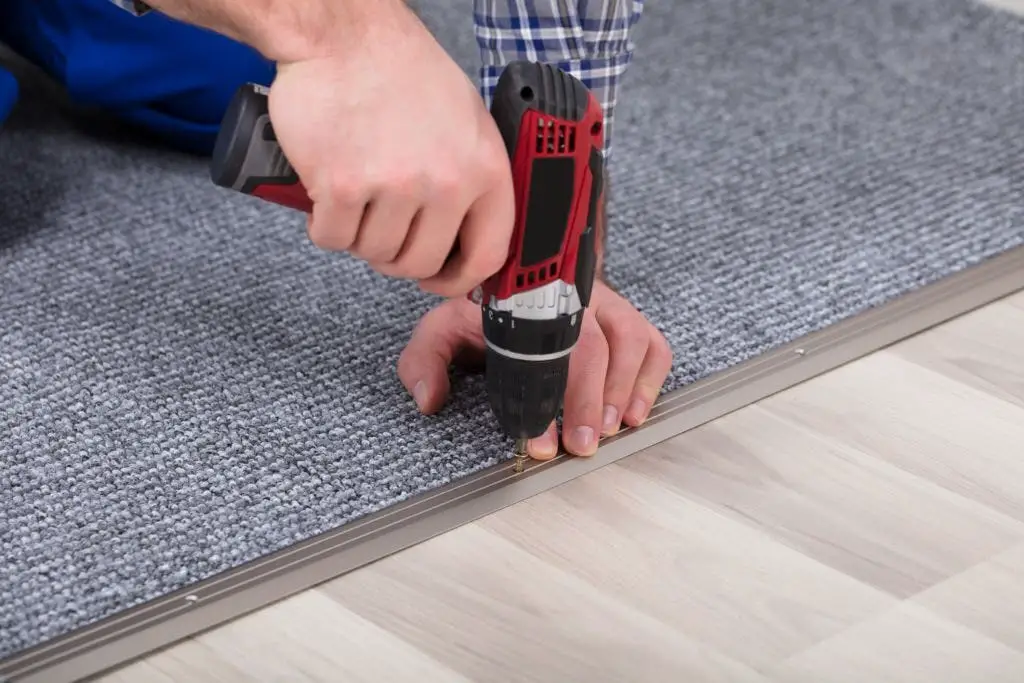
Finishing Touches
Once the adhesive or tape has been applied and the patch or fibers are in place, it’s imperative to ensure proper adhesion by pressing down on the repaired area with weighted objects, such as heavy books or a flat weight.
This pressure will help the repair materials bond securely with the existing carpet, reducing the likelihood of the repair lifting or separating over time.
Leave the weights on the repair site for the duration specified by the adhesive’s manufacturer, usually overnight, to guarantee the best possible adhesion and a repair that is not only effective but also long-lasting.
After the repair site has had sufficient time under the weights, cautiously remove them and examine the area to ensure the patch or fibers stay intact.
It is critical to allow the area to dry thoroughly before walking on it or moving furniture back into place. This drying process will prevent any shifting or wrinkling of the newly bonded materials.
Depending on the adhesive used, this can take anywhere from several hours to a full day. Patience during this stage is key to ensuring the longevity and invisibility of the carpet repair.
Conclusion
Successfully repairing frayed carpet edges not only revitalizes the appearance of your space but can also greatly extend the functional life of your flooring investment.
This step-by-step tutorial, centered around careful assessment, precise trimming, diligent sealing, and patient finishing, is your focused keyword guide to restoring your carpet to its former glory. Addressing wear and tear proactively prevents minor damage from escalating into significant, costly issues.
By following these instructions, you ensure your carpet remains a safe and attractive feature of your living environment. Now that you’re armed with the knowledge to tackle frays with confidence, your carpet can continue to underpin the comfort and style of your home for years to come.
FAQs
How often should you inspect your carpet for signs of wear and tear?
You should inspect your carpet for signs of wear and tear every few months, especially in high-traffic areas. Catching frays or damages early can make repairs easier and prevent them from becoming more extensive and costly.
Can you repair a carpet if the damage is not along the edges?
Yes, damage away from the edges can still be repaired. It’s often done with a patching technique that involves cutting out the damaged section and replacing it with a matching piece of carpet, ensuring the pattern, nap, and weave direction align perfectly.
What type of adhesive is recommended for fixing frayed carpet edges?
A pressure-sensitive adhesive or a carpet seam sealer is recommended for fixing frayed carpet edges. Choose an adhesive that sets quickly, provides a strong bond, and is suitable for the carpet material you are repairing. Always follow the manufacturer’s instructions for the best results.
2 thoughts on “How To Fix Frayed Carpet Edges: DIY Solutions”